> ## Documentation Index
> Fetch the complete documentation index at: https://sequinstream.com/docs/llms.txt
> Use this file to discover all available pages before exploring further.
# Trigger Vercel Functions from database changes
> Create serverless, event-driven Next.js applications that respond to Postgres changes.
[Vercel Functions](https://vercel.com/docs/functions) are on-demand, serverless functions that run on Vercel's global, edge network. They are executed in a variety of runtimes including Node.js, Edge, GO, Python and Ruby.
Often, you want to trigger a Vercel Function when a database row changes. For example, you may want to trigger a function as a side-effect of a database change, or fan out work to multiple services.
 In this guide, you will learn how to setup a Sequin webhook sink to trigger a Vercel Function when a database row changes.
## Prerequisites
You are about to create a simple Vercel Function that logs a message to the console. You'll trigger this function by setting up a webhook sink in Sequin that sends a HTTP POST request to the function's URL with the payload of the database row that changed.
You'll need the following:
* A [Vercel account](https://vercel.com/signup)
* Sequin [installed locally](/quickstart/webhooks)
* A [database](/connect-postgres) connected to Sequin
## Create a Vercel Function
Start by creating a new Vercel Function that takes in a Sequin webhook sink [payload](/reference/sinks/webhooks#request-format) and logs the payload to the console.
Create a new Next.js project if you don't have one:
```bash theme={null}
npx create-next-app@latest --typescript
```
Create a new API route at `app/api/hello/route.ts` with the following code:
```typescript theme={null}
export const dynamic = 'force-dynamic';
export async function POST(request: Request) {
const authHeader = request.headers.get('authorization');
if (!authHeader || authHeader !== `Bearer ${process.env.SEQUIN_WEBHOOK_SECRET}`) {
return new Response('Unauthorized', { status: 401 });
}
try {
const payload = await request.json();
const { record } = payload;
if (record && record.name) {
console.log(`Hello ${record.name}`);
} else {
console.log('No name found in the payload.');
}
return new Response('Success', { status: 200 });
} catch (error) {
console.error('Error processing request:', error);
return new Response('Internal Server Error', { status: 500 });
}
}
```
This function first checks the authorization header to make sure the request is coming from Sequin. Then it processes the [payload](/reference/sinks/webhooks#request-format) and logs the name from the payload to the console.
Create a `.env.local` file in your project root and add:
```bash theme={null}
SEQUIN_WEBHOOK_SECRET=your-secret-value
```
[Create a secret](/reference/sinks/webhooks#authentication) and set it as the `SEQUIN_WEBHOOK_SECRET` environment variable. You will need to use this secret value in the Sequin dashboard when you create the webhook sink.
1. Install the Vercel CLI if you haven't already:
```bash theme={null}
npm install -g vercel
```
2. Deploy your app:
```bash theme={null}
vercel
```
3. In the Vercel dashboard, add the `SEQUIN_WEBHOOK_SECRET` environment variable with the same value you used locally.
Copy your deployment URL. You will need this URL when creating the webhook sink.
You've successfully created a Vercel Function that logs a message to the console when Sequin sends a HTTP POST request to the function's URL.
## Use the CLI to tunnel to your local endpoint
Create a Sequin HTTP endpoint that points to your local Vercel Function:
In the Sequin web console, open the "HTTP Endpoint" tab and click the "Create HTTP Endpoint" button.
Enter a name for your endpoint (i.e. `local_endpoint`) and flip the "Use localhost" switch. Follow the instructions in the Sequin console to [install the Sequin CLI](/reference/cli/overview), then run:
```bash theme={null}
sequin tunnel --ports=3000:local-endpoint
```
Back in the Sequin web console, click "Add encryption header" and set the key to `Authorization` and the value to `Bearer SEQUIN_WEBHOOK_SECRET` using the secret value you created above.
Click "Create HTTP Endpoint".
## Create a webhook sink
Create a webhook sink that captures changes to your database and sends a HTTP POST request to the local Sequin HTTP endpoint you created above:
Navigate to the "Sinks" tab, click the "Create Sink" button, and select "Webhook Sink".
Select the schemas and tables you want to capture changes from (i.e `public.users` or `public`).
Add [filters](/reference/filters) to the sink to control which database changes are sent to your webhook endpoint.
You can optionally indicate if you want your webhook endpoint to receive a [backfill](reference/backfills) of all or a portion of the table's existing data. For now, leave "Backfill" toggled off.
Under "Message grouping", leave the default option selected to ensure events for the same row are sent to your webhook endpoint in order.
Under "Webhook Sink configuration" leave the defaults:
* Leave the default value of `30000 ms` for "Request timeout" as this is more than enough time for your function to process the request
* Leave the default value of `1` for "Batch size" since you're just logging messages
Under "HTTP Endpoint", enter the Sequin HTTP endpoint you created above. Then click to "Add Encrypted Header" with the key `Authorization` and the value `Bearer SEQUIN_WEBHOOK_SECRET`, using the secret value you set in your Lambda function's environment variables.
Give your sink a name (i.e. `users_webhook_sink`) and click "Create Webhook Sink".
Your Sequin consumer is now created and ready to send events to your function.
## Test end-to-end
1. The Next.js app is running: `npm run dev`
2. The Sequin tunnel is running: `sequin tunnel --ports=3000:local_endpoint`
```sql theme={null}
insert into
users (name)
values
(
'John Doe'
);
```
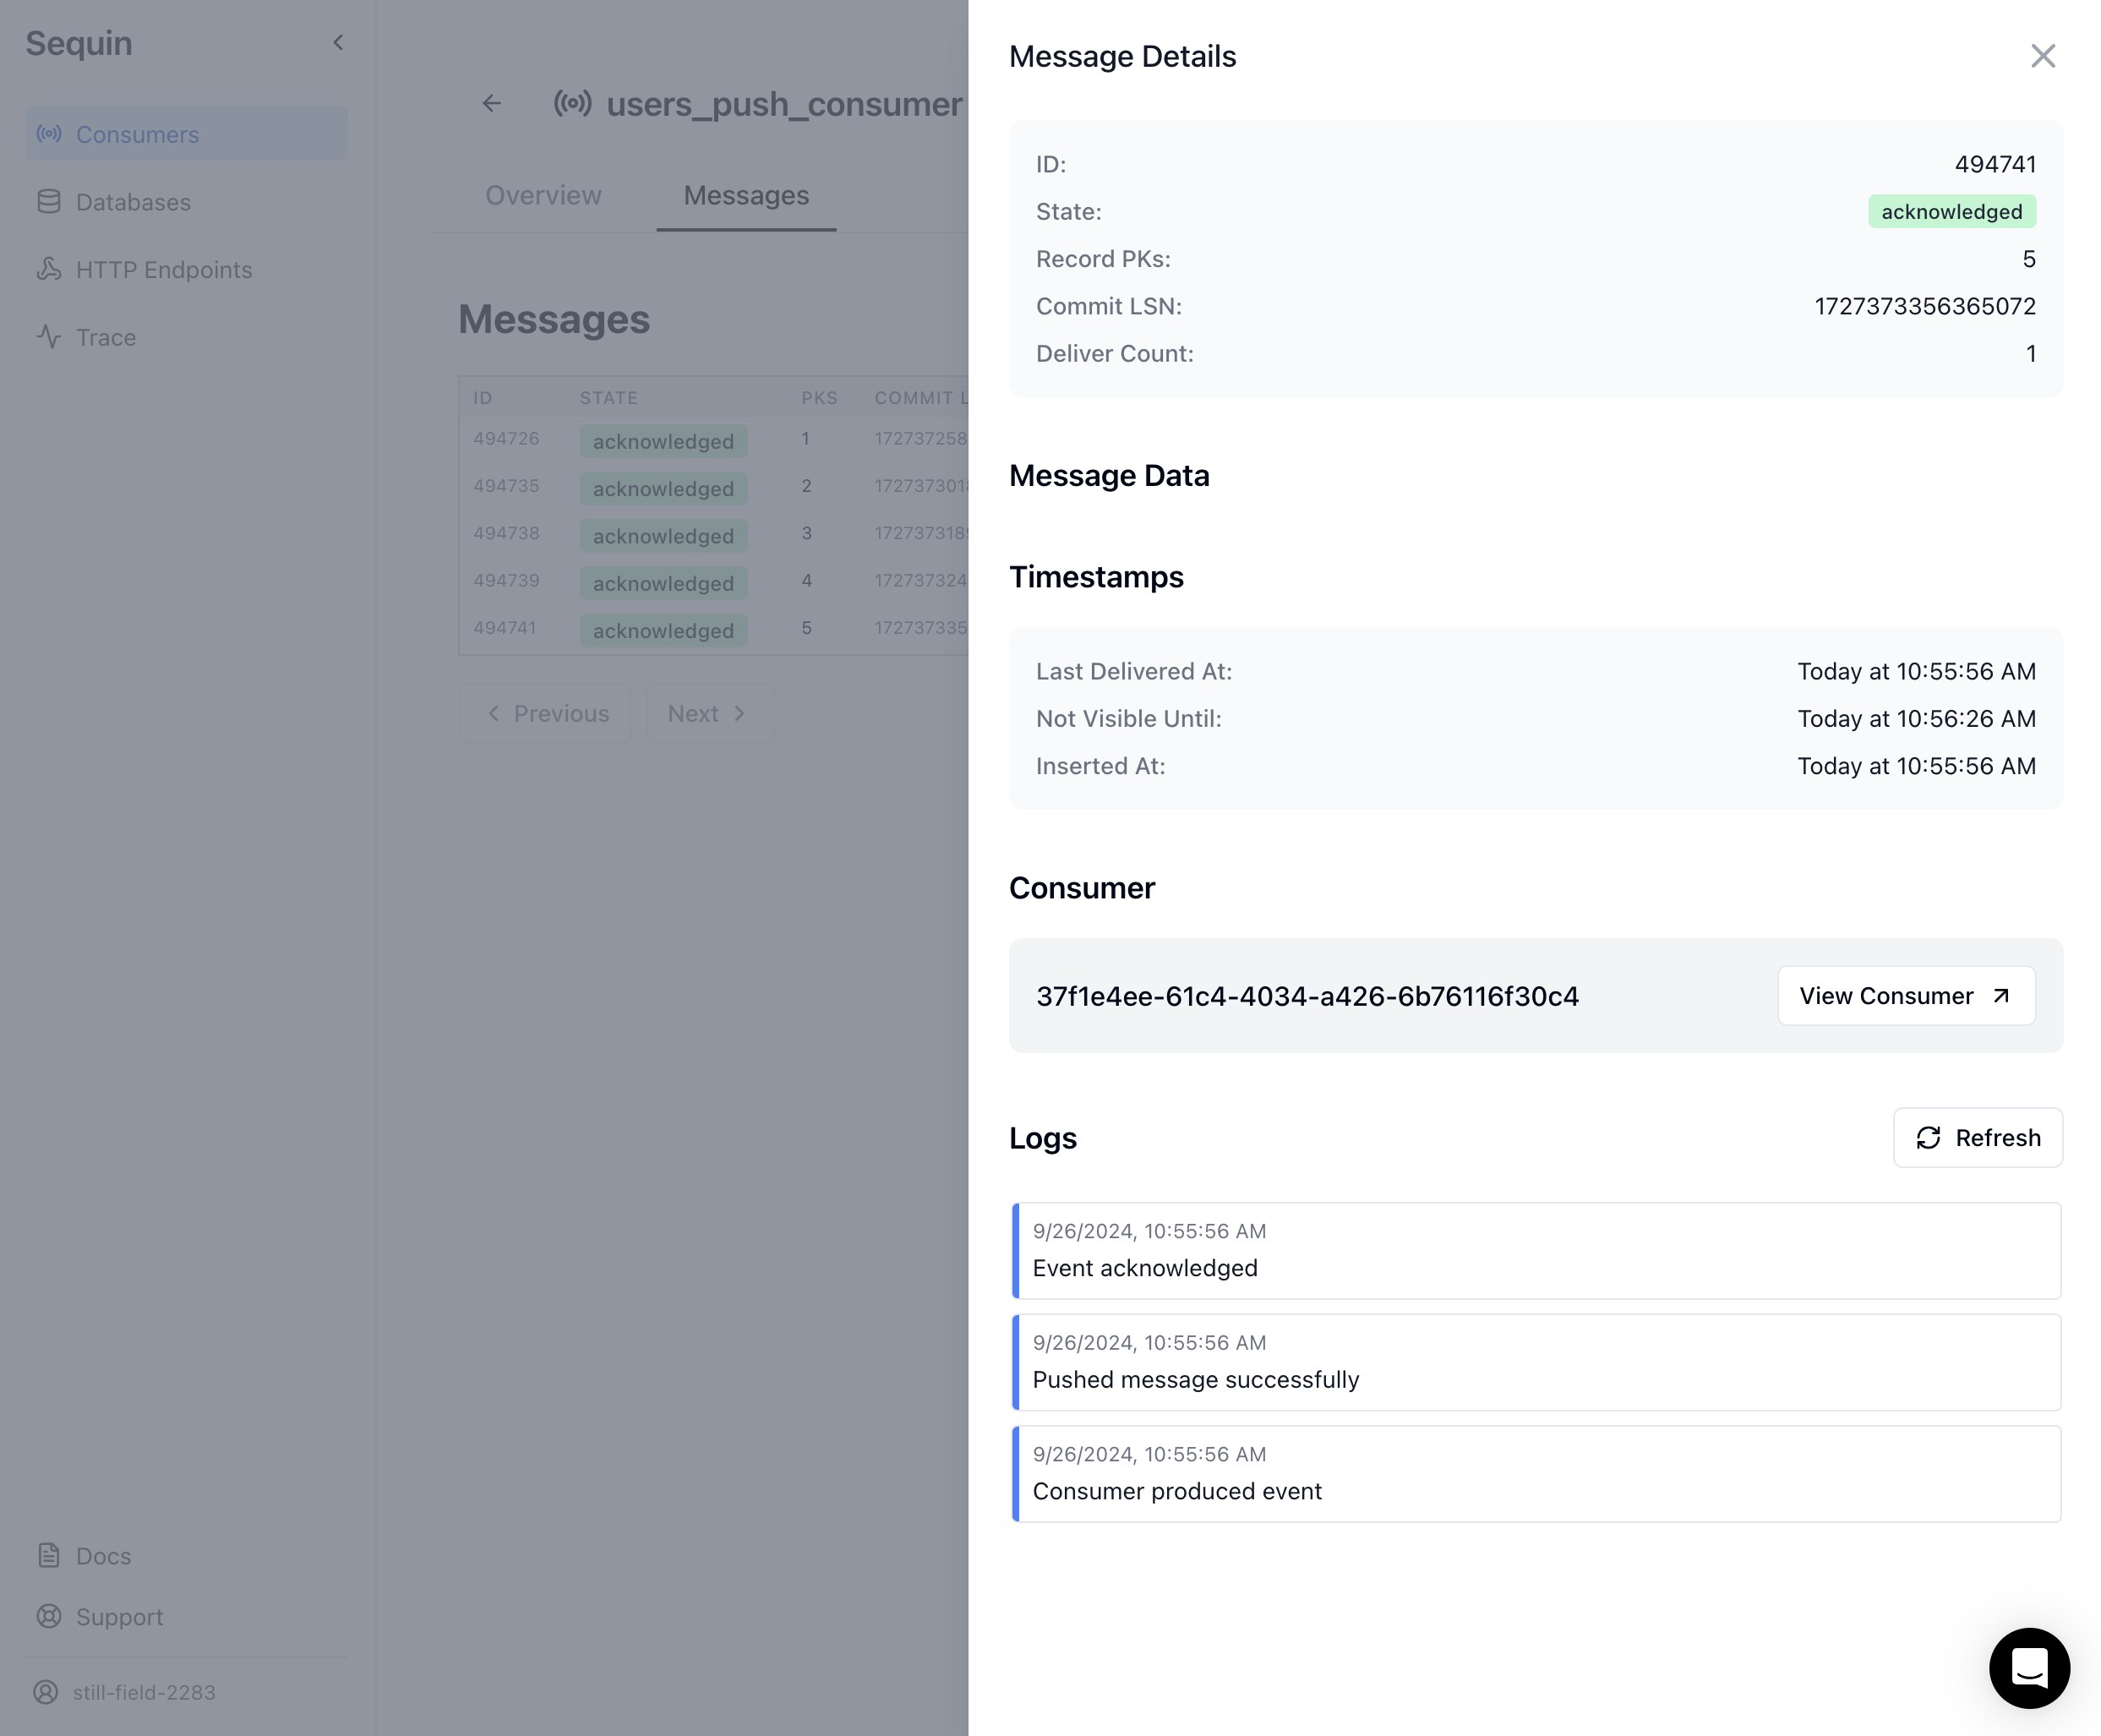
In the Sequin console, open the "Messages" tab on your webhook sink and confirm that a message was delivered:
In this guide, you will learn how to setup a Sequin webhook sink to trigger a Vercel Function when a database row changes.
## Prerequisites
You are about to create a simple Vercel Function that logs a message to the console. You'll trigger this function by setting up a webhook sink in Sequin that sends a HTTP POST request to the function's URL with the payload of the database row that changed.
You'll need the following:
* A [Vercel account](https://vercel.com/signup)
* Sequin [installed locally](/quickstart/webhooks)
* A [database](/connect-postgres) connected to Sequin
## Create a Vercel Function
Start by creating a new Vercel Function that takes in a Sequin webhook sink [payload](/reference/sinks/webhooks#request-format) and logs the payload to the console.
Create a new Next.js project if you don't have one:
```bash theme={null}
npx create-next-app@latest --typescript
```
Create a new API route at `app/api/hello/route.ts` with the following code:
```typescript theme={null}
export const dynamic = 'force-dynamic';
export async function POST(request: Request) {
const authHeader = request.headers.get('authorization');
if (!authHeader || authHeader !== `Bearer ${process.env.SEQUIN_WEBHOOK_SECRET}`) {
return new Response('Unauthorized', { status: 401 });
}
try {
const payload = await request.json();
const { record } = payload;
if (record && record.name) {
console.log(`Hello ${record.name}`);
} else {
console.log('No name found in the payload.');
}
return new Response('Success', { status: 200 });
} catch (error) {
console.error('Error processing request:', error);
return new Response('Internal Server Error', { status: 500 });
}
}
```
This function first checks the authorization header to make sure the request is coming from Sequin. Then it processes the [payload](/reference/sinks/webhooks#request-format) and logs the name from the payload to the console.
Create a `.env.local` file in your project root and add:
```bash theme={null}
SEQUIN_WEBHOOK_SECRET=your-secret-value
```
[Create a secret](/reference/sinks/webhooks#authentication) and set it as the `SEQUIN_WEBHOOK_SECRET` environment variable. You will need to use this secret value in the Sequin dashboard when you create the webhook sink.
1. Install the Vercel CLI if you haven't already:
```bash theme={null}
npm install -g vercel
```
2. Deploy your app:
```bash theme={null}
vercel
```
3. In the Vercel dashboard, add the `SEQUIN_WEBHOOK_SECRET` environment variable with the same value you used locally.
Copy your deployment URL. You will need this URL when creating the webhook sink.
You've successfully created a Vercel Function that logs a message to the console when Sequin sends a HTTP POST request to the function's URL.
## Use the CLI to tunnel to your local endpoint
Create a Sequin HTTP endpoint that points to your local Vercel Function:
In the Sequin web console, open the "HTTP Endpoint" tab and click the "Create HTTP Endpoint" button.
Enter a name for your endpoint (i.e. `local_endpoint`) and flip the "Use localhost" switch. Follow the instructions in the Sequin console to [install the Sequin CLI](/reference/cli/overview), then run:
```bash theme={null}
sequin tunnel --ports=3000:local-endpoint
```
Back in the Sequin web console, click "Add encryption header" and set the key to `Authorization` and the value to `Bearer SEQUIN_WEBHOOK_SECRET` using the secret value you created above.
Click "Create HTTP Endpoint".
## Create a webhook sink
Create a webhook sink that captures changes to your database and sends a HTTP POST request to the local Sequin HTTP endpoint you created above:
Navigate to the "Sinks" tab, click the "Create Sink" button, and select "Webhook Sink".
Select the schemas and tables you want to capture changes from (i.e `public.users` or `public`).
Add [filters](/reference/filters) to the sink to control which database changes are sent to your webhook endpoint.
You can optionally indicate if you want your webhook endpoint to receive a [backfill](reference/backfills) of all or a portion of the table's existing data. For now, leave "Backfill" toggled off.
Under "Message grouping", leave the default option selected to ensure events for the same row are sent to your webhook endpoint in order.
Under "Webhook Sink configuration" leave the defaults:
* Leave the default value of `30000 ms` for "Request timeout" as this is more than enough time for your function to process the request
* Leave the default value of `1` for "Batch size" since you're just logging messages
Under "HTTP Endpoint", enter the Sequin HTTP endpoint you created above. Then click to "Add Encrypted Header" with the key `Authorization` and the value `Bearer SEQUIN_WEBHOOK_SECRET`, using the secret value you set in your Lambda function's environment variables.
Give your sink a name (i.e. `users_webhook_sink`) and click "Create Webhook Sink".
Your Sequin consumer is now created and ready to send events to your function.
## Test end-to-end
1. The Next.js app is running: `npm run dev`
2. The Sequin tunnel is running: `sequin tunnel --ports=3000:local_endpoint`
```sql theme={null}
insert into
users (name)
values
(
'John Doe'
);
```
In the Sequin console, open the "Messages" tab on your webhook sink and confirm that a message was delivered:
 In your local terminal, you should see a `200` response in your Next.js app:
```bash theme={null}
POST /api/hello 200 in 242ms
```
You've successfully triggerd a Vercel Function from a database change!
## Deploy to Vercel
1. If you haven't already, install the Vercel CLI:
```bash theme={null}
npm install -g vercel
```
2. Run the following command to deploy your Next.js app to Vercel:
```bash theme={null}
vercel
```
Follow the prompts to link your project to a Vercel account and deploy your app. Vercel will provide you with a deployment URL once the process is complete.
1. In the Vercel dashboard, navigate to your project and click on the "Settings" tab.
2. Under the "Environment Variables" section, click the "Add" button.
3. Add a new environment variable with the following details:
* "Environment": Select "Production" (and optionally "Preview" and "Development" if you want to use the same secret in those environments)
* "Key": `SEQUIN_WEBHOOK_SECRET`
* "Value": your-secret-value (use the same value you set in your `.env.local` file)
4. Click "Save" to add the environment variable.
In the Sequin console, create a new webhook sink that points to your Vercel Function's HTTP endpoint.
1. After setting the environment variable, trigger a database change (e.g., insert a new user) to ensure that Sequin can successfully send events to your deployed Vercel Function.
2. Check the logs in the Vercel dashboard to confirm that your function is receiving the events and processing them correctly.
You've successfully deployed your Next.js app to Vercel and configured it to trigger Vercel Functions from database changes!
## Next steps
Modify this example to suit your needs:
* If you need to run long-running jobs, consider using [Trigger.dev](/guides/trigger-dev) or [Inngest](/guides/inngest) in tandem with Vercel Functions.
* Tune your [webhook sink configuration](/reference/sinks/webhooks) to suit your volume of work.
In your local terminal, you should see a `200` response in your Next.js app:
```bash theme={null}
POST /api/hello 200 in 242ms
```
You've successfully triggerd a Vercel Function from a database change!
## Deploy to Vercel
1. If you haven't already, install the Vercel CLI:
```bash theme={null}
npm install -g vercel
```
2. Run the following command to deploy your Next.js app to Vercel:
```bash theme={null}
vercel
```
Follow the prompts to link your project to a Vercel account and deploy your app. Vercel will provide you with a deployment URL once the process is complete.
1. In the Vercel dashboard, navigate to your project and click on the "Settings" tab.
2. Under the "Environment Variables" section, click the "Add" button.
3. Add a new environment variable with the following details:
* "Environment": Select "Production" (and optionally "Preview" and "Development" if you want to use the same secret in those environments)
* "Key": `SEQUIN_WEBHOOK_SECRET`
* "Value": your-secret-value (use the same value you set in your `.env.local` file)
4. Click "Save" to add the environment variable.
In the Sequin console, create a new webhook sink that points to your Vercel Function's HTTP endpoint.
1. After setting the environment variable, trigger a database change (e.g., insert a new user) to ensure that Sequin can successfully send events to your deployed Vercel Function.
2. Check the logs in the Vercel dashboard to confirm that your function is receiving the events and processing them correctly.
You've successfully deployed your Next.js app to Vercel and configured it to trigger Vercel Functions from database changes!
## Next steps
Modify this example to suit your needs:
* If you need to run long-running jobs, consider using [Trigger.dev](/guides/trigger-dev) or [Inngest](/guides/inngest) in tandem with Vercel Functions.
* Tune your [webhook sink configuration](/reference/sinks/webhooks) to suit your volume of work.