Prerequisites
You are about to create a simple Cloudflare Worker that logs a message to the console. You’ll trigger this worker by setting up a Webhook sink in Sequin that sends a HTTP POST request to the worker’s URL with the payload of the database row that changed. You’ll need the following:- A Cloudflare account
- Sequin installed locally
- A database connected to Sequin
Create a Cloudflare Worker
Start by creating a new Cloudflare Worker that takes in a Sequin change event as a payload and logs the payload to the console.Create a new Cloudflare Worker
- Log in to your Cloudflare dashboard and navigate to the “Workers and Pages” section.
- Click on “Create Worker”.
- Give your service a name (e.g., “user-worker”) and click “Deploy”.
Add worker code
Click the Edit code button.Replace the default code in the worker editor with the following:This worker first checks the authorization header to make sure the request is coming from Sequin. Then it processes the payload and logs a message to the console. In this example code, the row that changed contains a
name field, so the worker logs the name to the console.Click the Deploy button to deploy your worker.Add the SEQUIN_WEBHOOK_SECRET environment variable
- In your worker’s settings, go to the “Settings” tab.
- Scroll down to the “Variables and Secrets” section.
- Click ”+ Add”.
- Set the variable name as
SEQUIN_WEBHOOK_SECRETand the value to a secure secret of your choice. - Click “Deploy”.
You’ve successfully created a Cloudflare Worker that logs a message to the console when Sequin sends a HTTP POST request to the worker’s URL.
Create a webhook sink
Create a webhook sink that captures changes to your database and sends a HTTP POST request to the Cloudflare Worker’s URL:Create a new sink
Navigate to the “Sinks” tab, click the “Create Sink” button, and select “Webhook Sink”.
Select source table(s)
Select the schemas and tables you want to capture changes from (i.e
public.users or public).Add filters (optional)
Add filters to the sink to control which database changes are sent to your webhook endpoint.
Configure backfill
You can optionally indicate if you want your webhook endpoint to receive a backfill of all or a portion of the table’s existing data. For now, leave “Backfill” toggled off.
Configure message grouping
Under “Message grouping”, leave the default option selected to ensure events for the same row are sent to your webhook endpoint in order.
Configure sink settings
Under “Webhook Sink configuration” leave the defaults:
- Leave the default value of
30000 msfor “Request timeout” as this is more than enough time for your worker to process the request - Leave the default value of
1for “Batch size” so each change is processed individually.
Configure HTTP endpoint
Under “HTTP Endpoint”, enter the Cloudflare Worker’s URL you copied earlier. Then click to “Add Encrypted Header” with the key
Authorization and the value Bearer SEQUIN_WEBHOOK_SECRET, using the secret value you set in your worker’s environment variables.Your webhook sink is now created and ready to send events to your Cloudflare Worker.
Test end-to-end
Trace the change in the Sequin dashboard
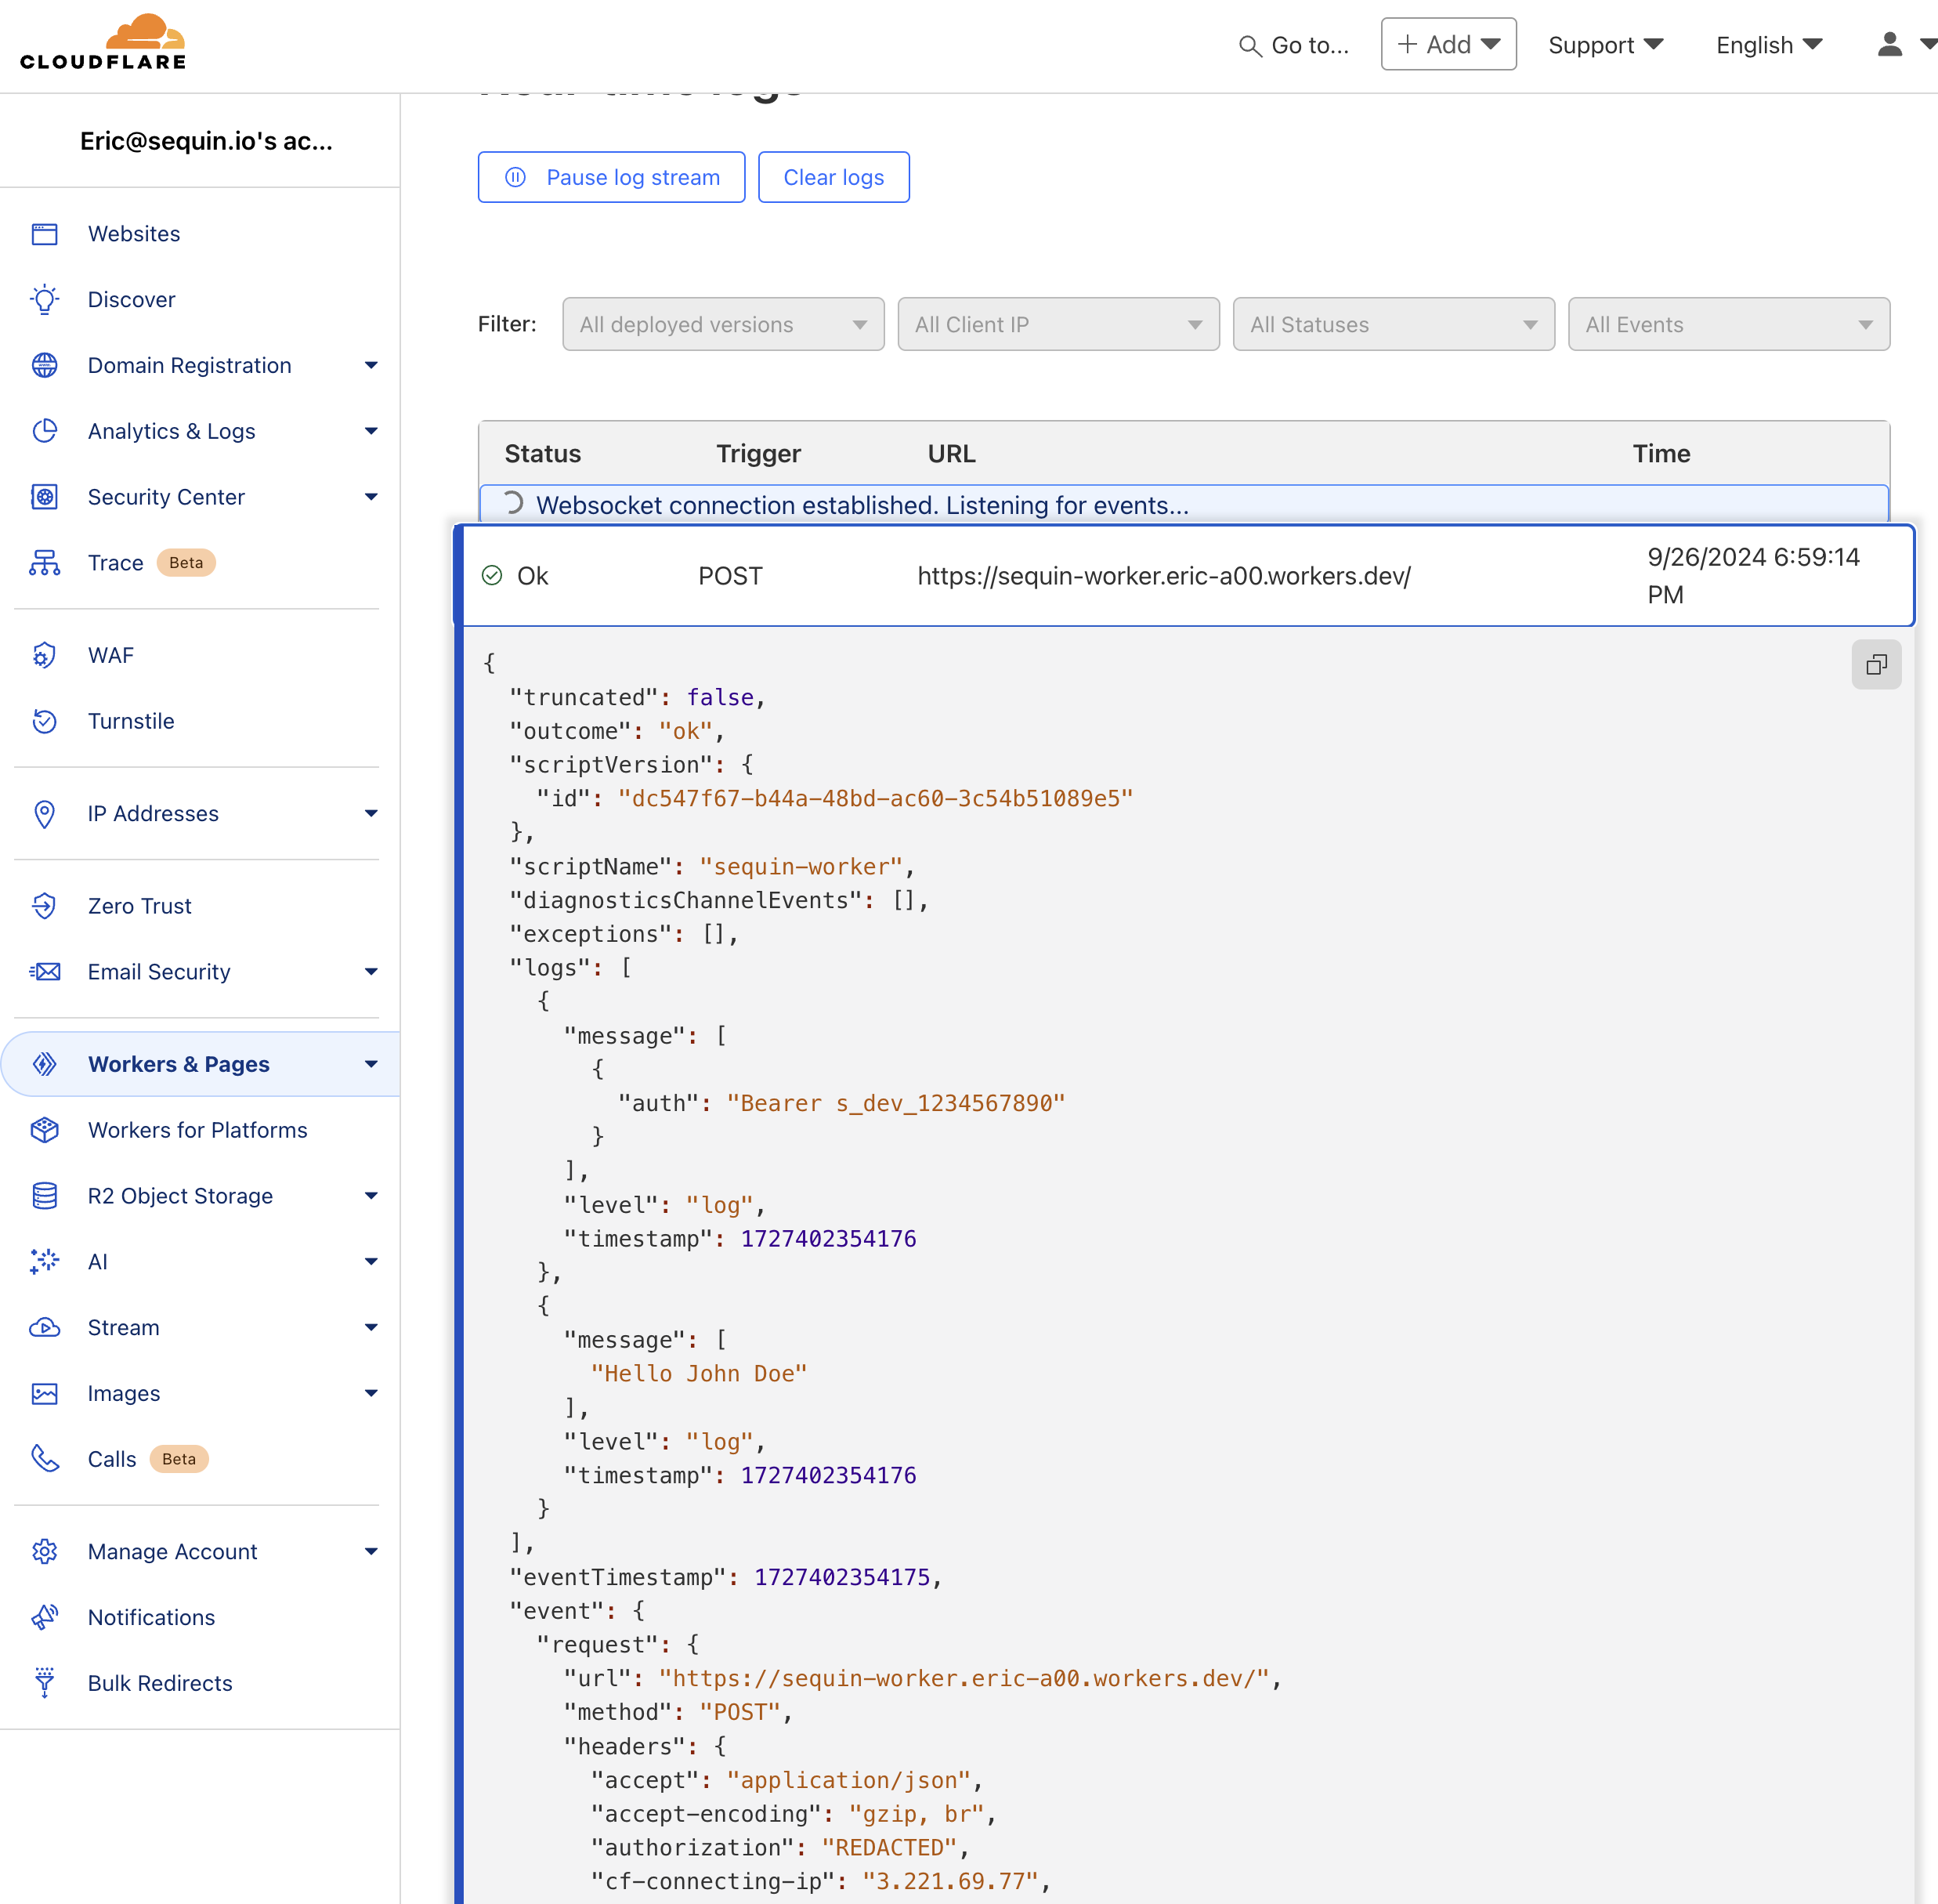
In the Sequin console, open the Messages tab on your webhook sink and confirm that a message was delivered.
You’ve successfully triggered a Cloudflare Worker from a database change!
Next steps
Modify this example to suit your needs:- If you need to run long-running jobs, consider using Cloudflare Durable Objects in tandem with Workers.
- Tune your webhook sink configuration to suit your volume of work.
- Implement additional security measures, such as Cloudflare Access for enhanced authentication and authorization.


