- Boot Sequin
- Connect to a sample playground database
- Create a webhook that receives database changes
- See your changes flow in real-time
Run Sequin
The easiest way to get started with Sequin is with our Docker Compose file. This file starts a Postgres database, Redis instance, and Sequin server.
Create directory and start services
- Download sequin-docker-compose.zip.
- Unzip the file.
- Navigate to the unzipped directory and start the services:
Alternative: Download with curl
Alternative: Download with curl
Alternative: Clone the repository
Alternative: Clone the repository
Login
The Docker Compose file automatically configures Sequin with an admin user and a playground database.Let’s log in to the Sequin web console:
Open the web console
After starting the Docker Compose services, open the Sequin web console at http://localhost:7376: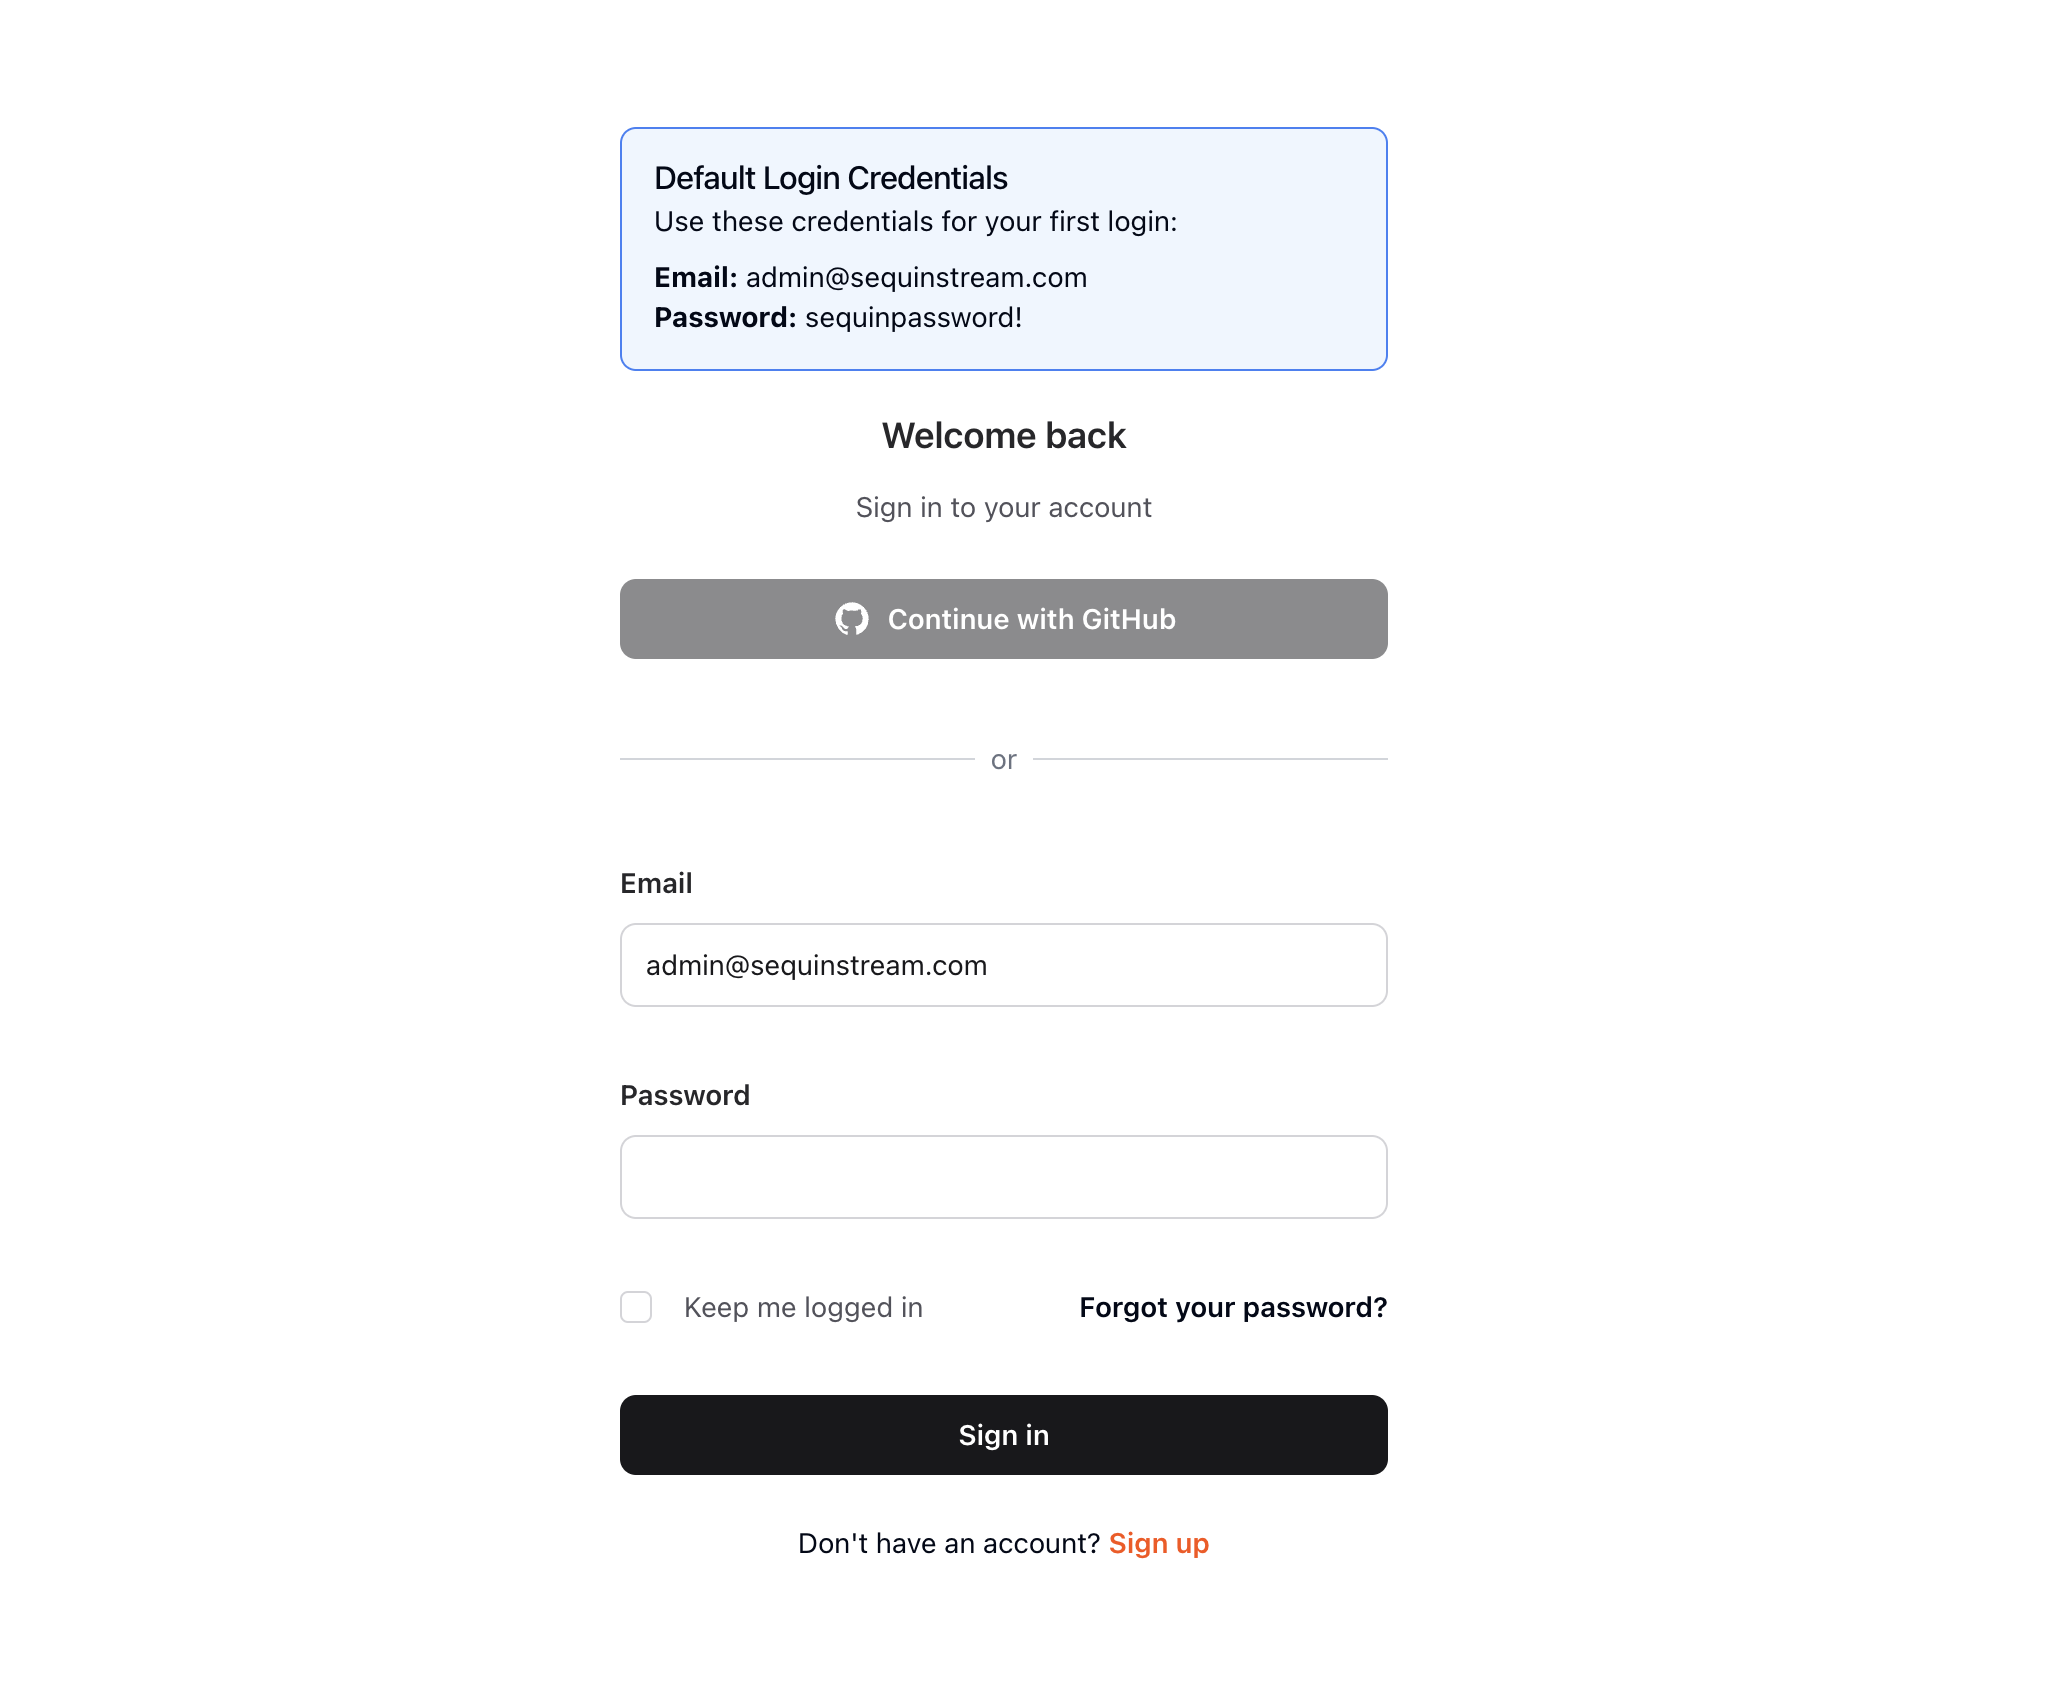

View the playground database
To get you started quickly, Sequin’s Docker Compose file creates a logical database called
sequin_playground with a sample dataset in the public.products table.Let’s take a look:Select playground database
Click on the pre-configured 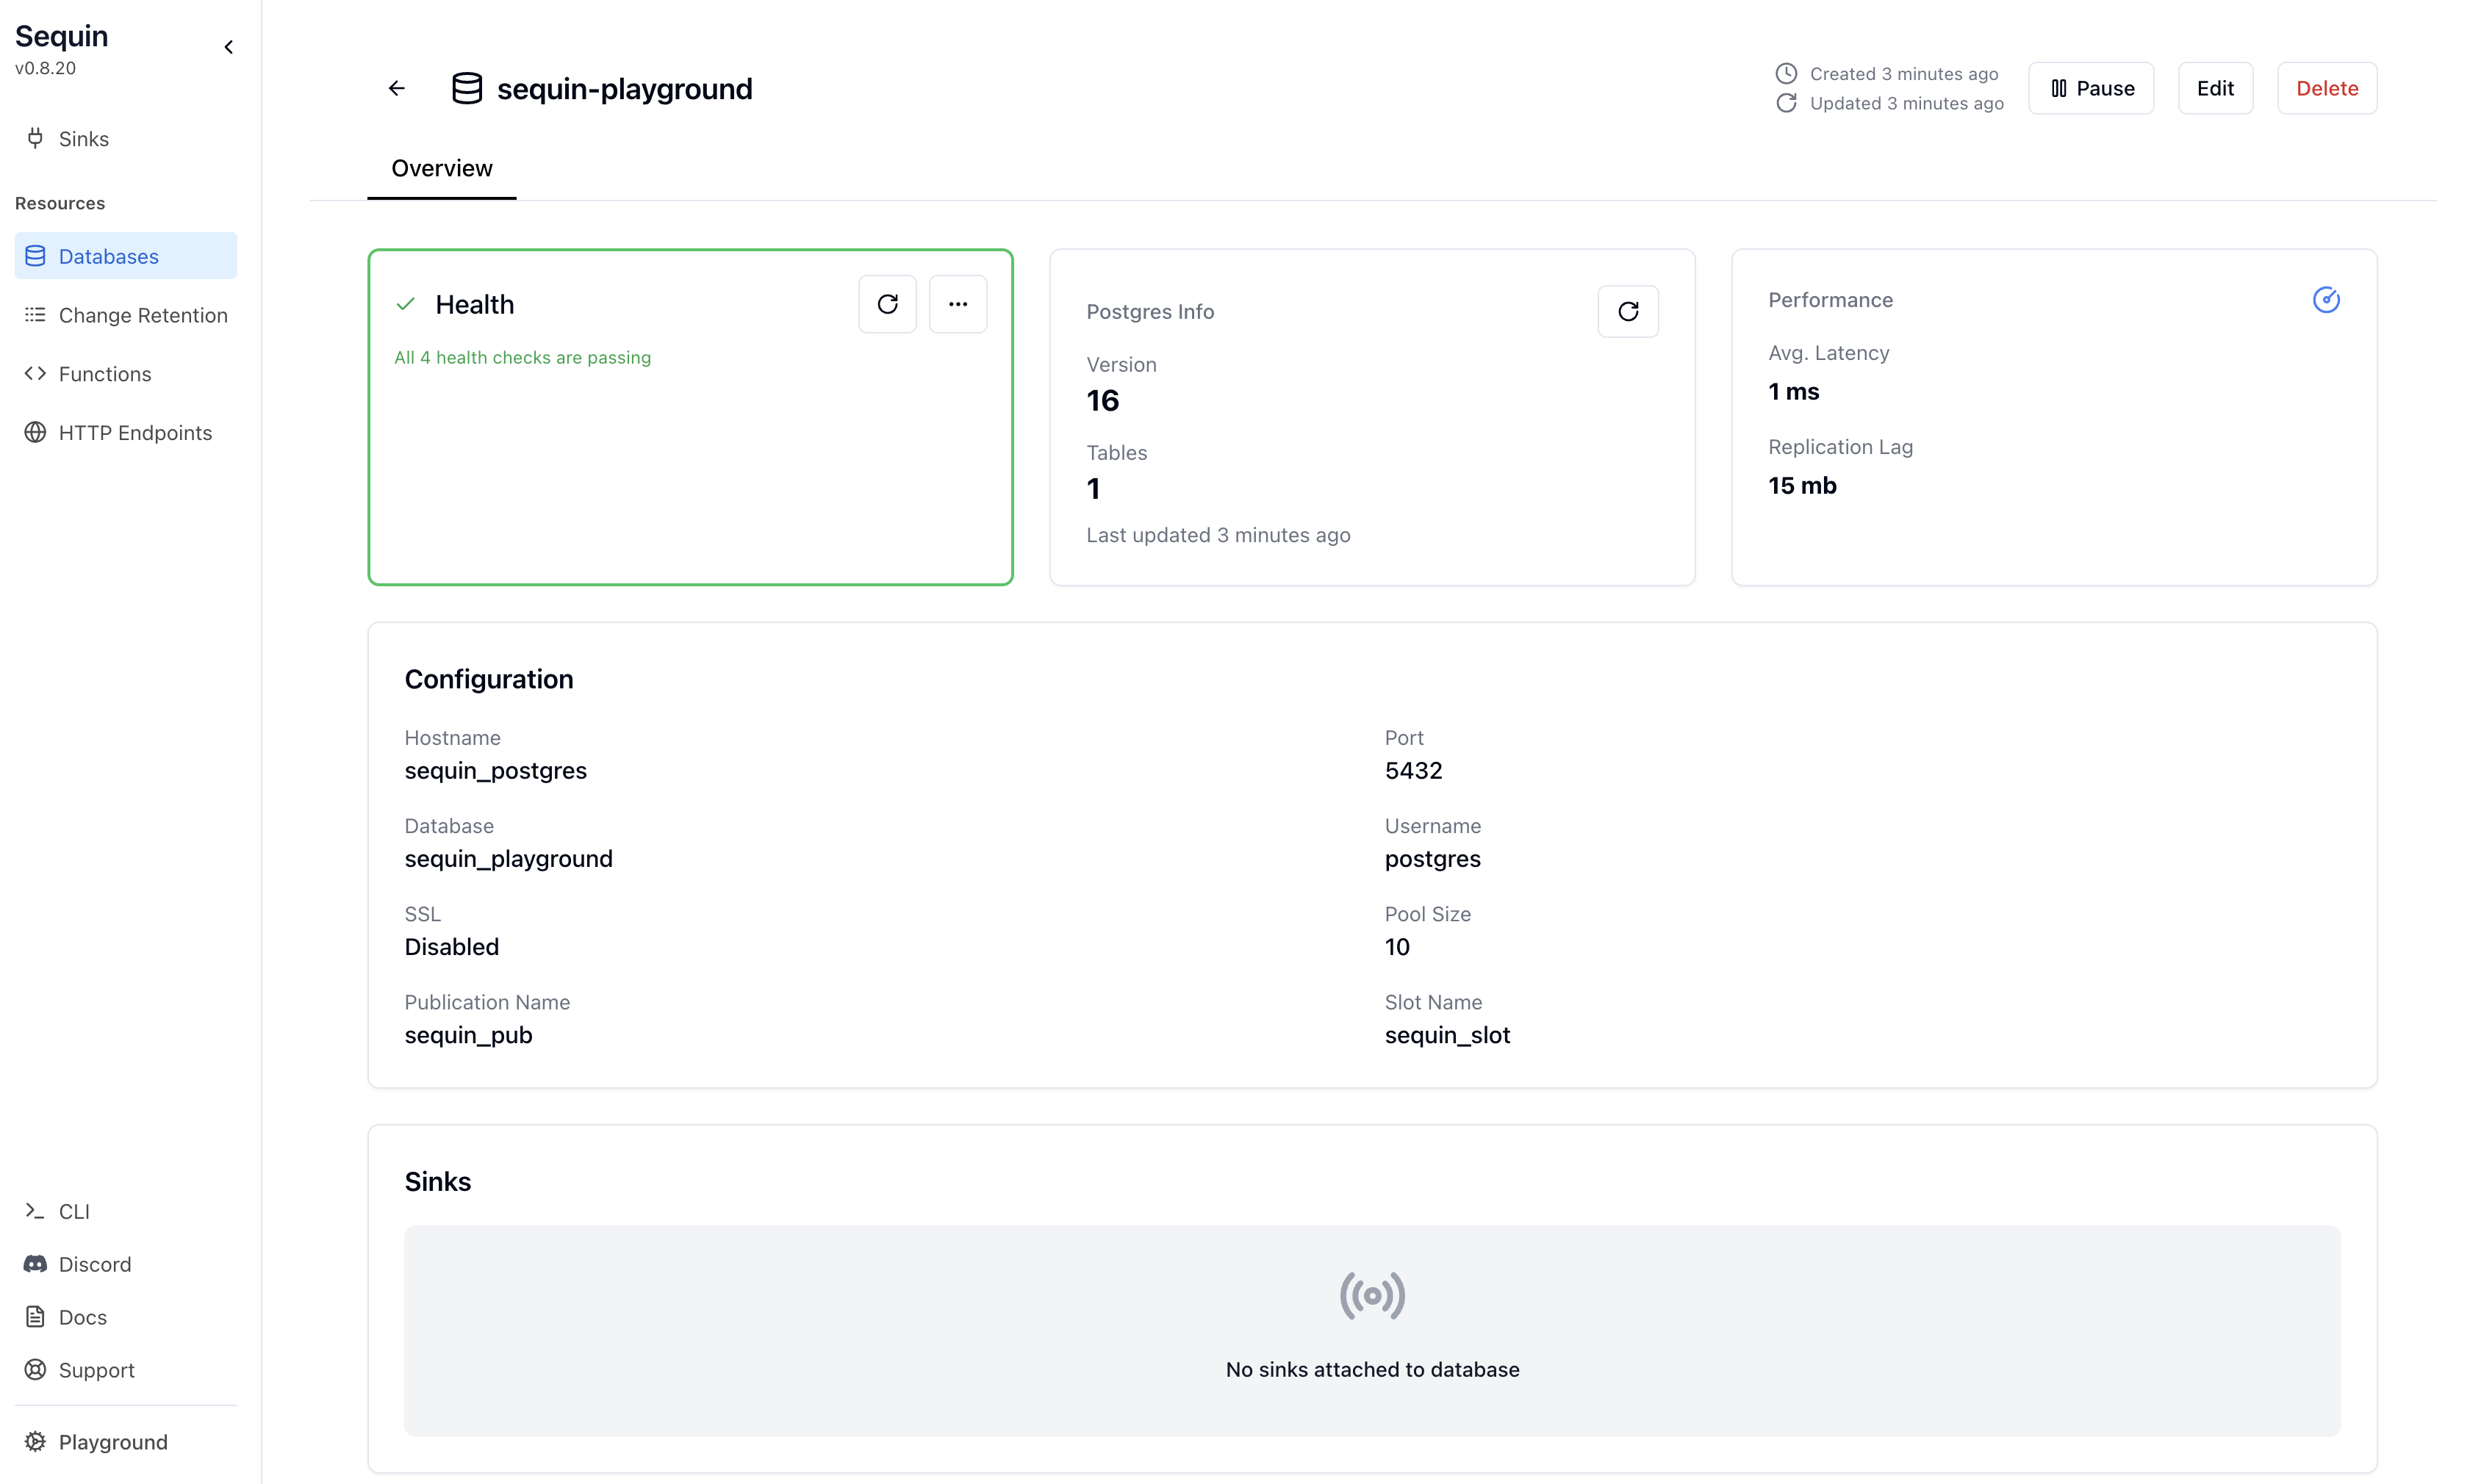
sequin-playground database:
The database “Health” should be green.
Create a Webhook Sink
With the playground database connected, you can create a sink. This sink will send changes to the
products table to an HTTP endpoint:Note "Source" configuration
In the “Source” card, note that the 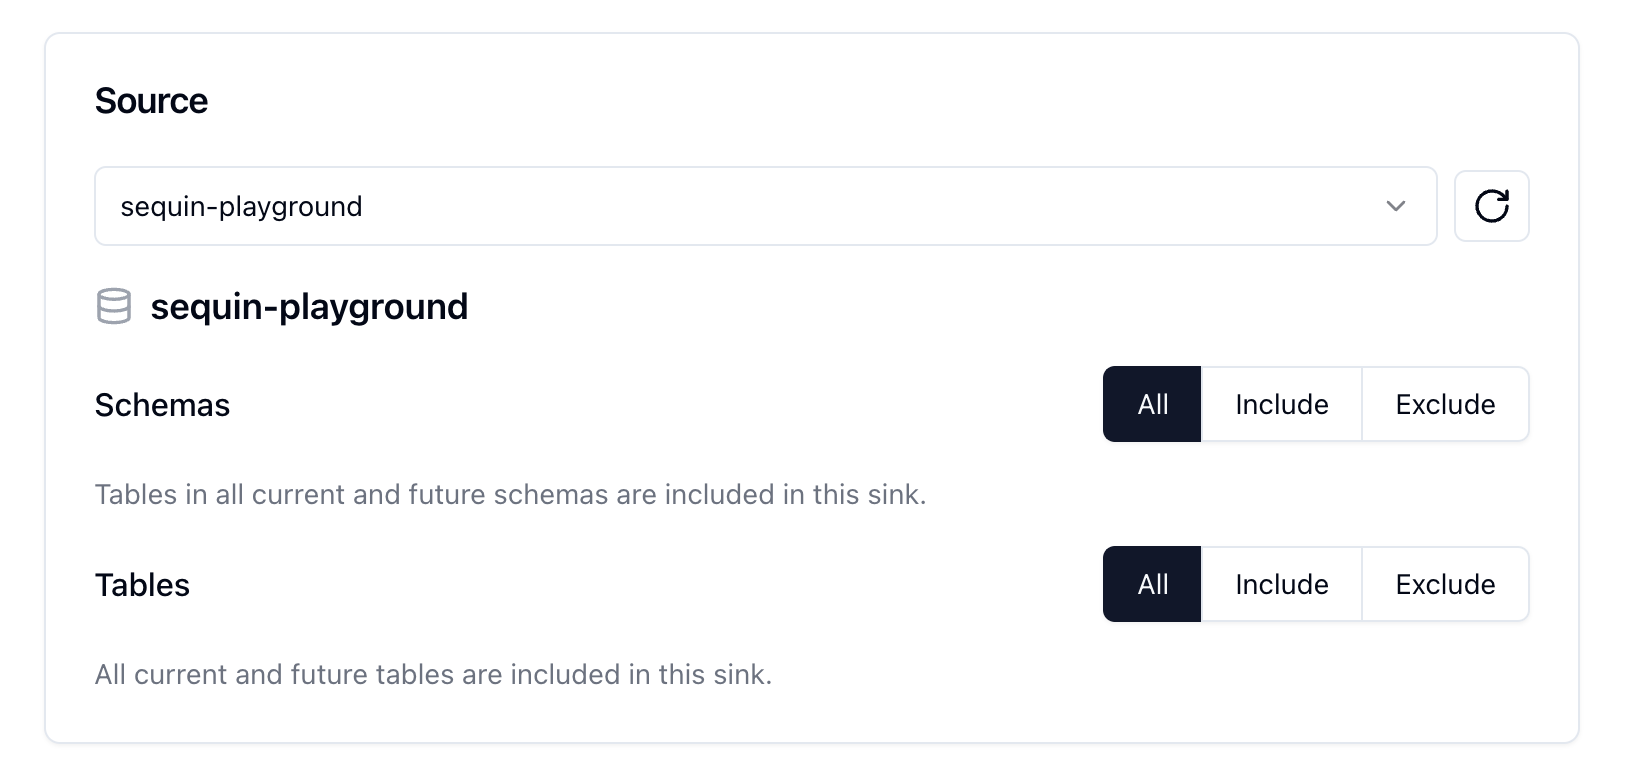
sequin-playground database is selected and all schemas and tables are included. Leave these defaults:
Setup a backfill
In the 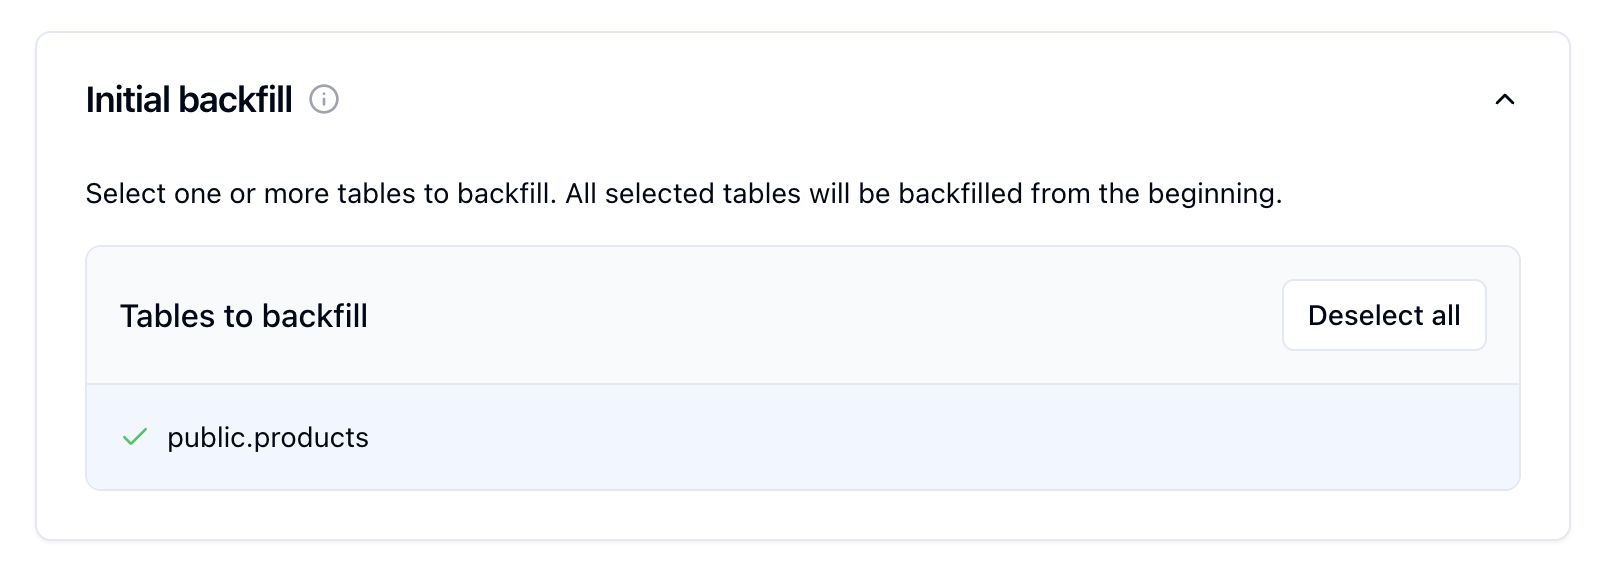
Inital backfill card, select the public.products table to initate a backfill when the sink is created.
Configure "HTTP Endpoint"
In the “HTTP Endpoint” card, click the dropdown “New HTTP Endpoint” and select “Create webhook.site endpoint”.This will provision a test endpoint on Webhook.site for you to use:

See changes flow to the webhook endpoint
On the new sink’s overview page, you should see the “Health” status turn green, indicating data is flowing to the webhook endpoint.Let’s confirm messages are flowing, both on Sequin and on Webhook.site:
Messages tab
Click the “Messages” tab. You’ll see a list of the recently delivered messages: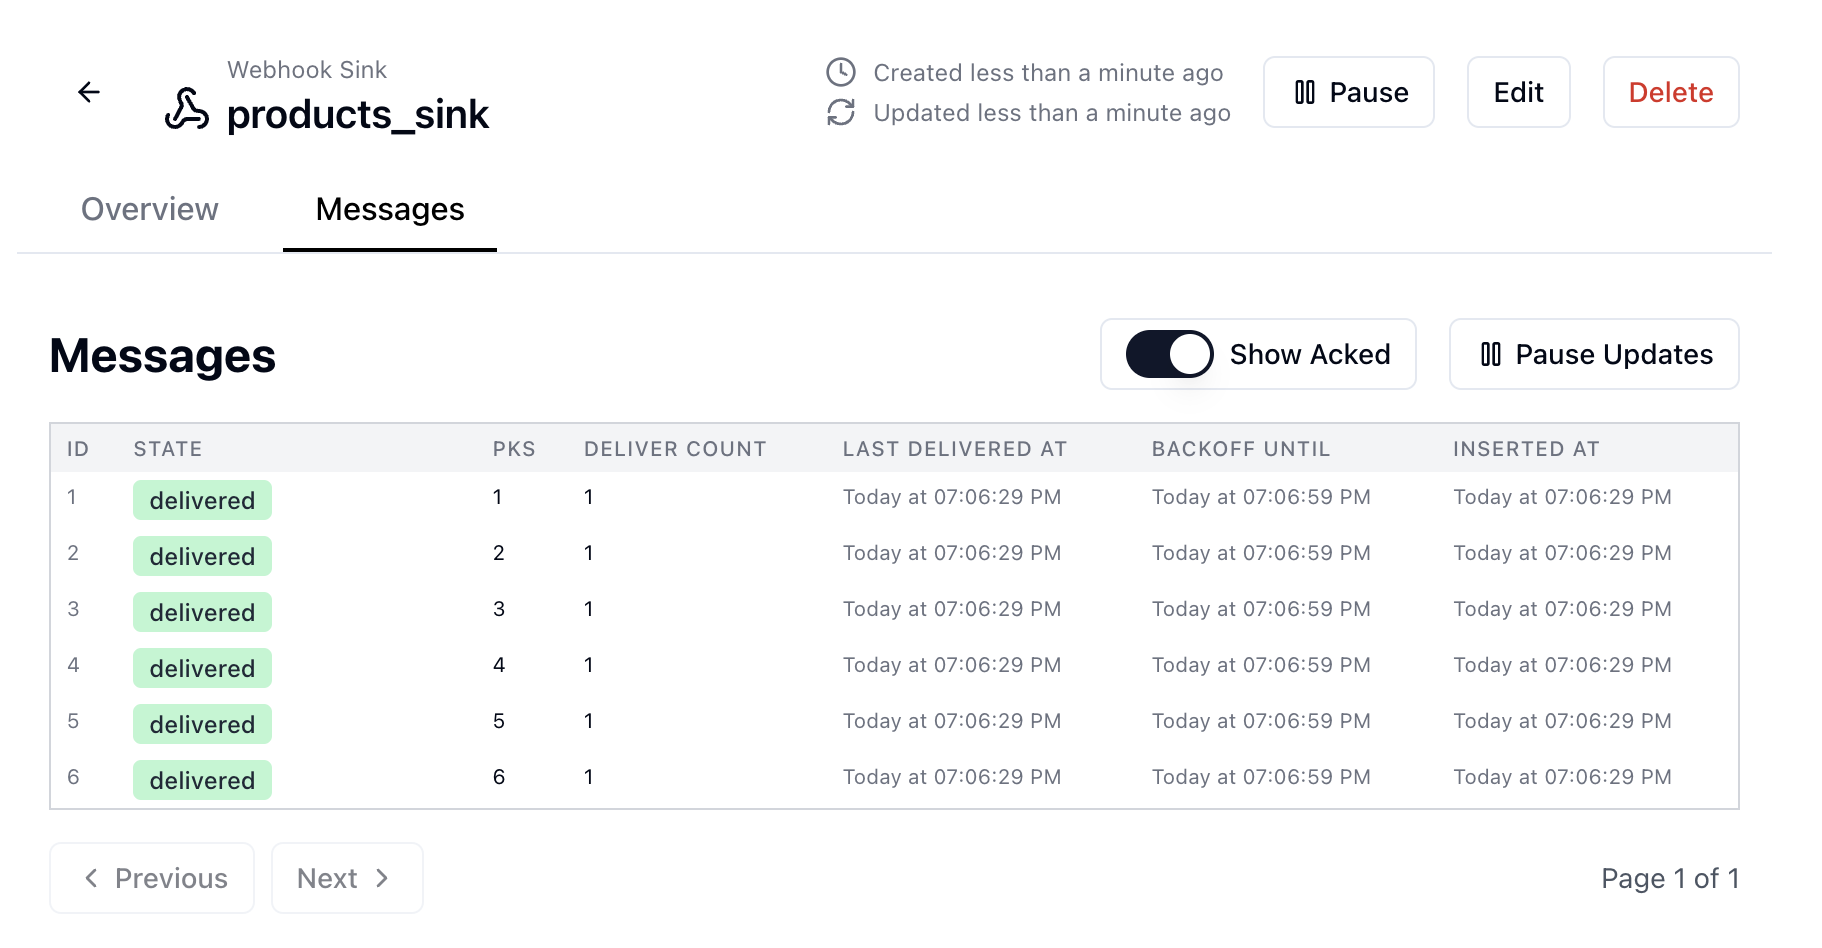

Sequin indicates it backfilled the
products table to our webhook endpoint.View on Webhook.site
Navigate back to the “Overview” tab. On the “HTTP Endpoint” card, click “View on Webhook.site”.This opens a new tab with the webhook endpoint’s request log. You should see the most recently received message displayed: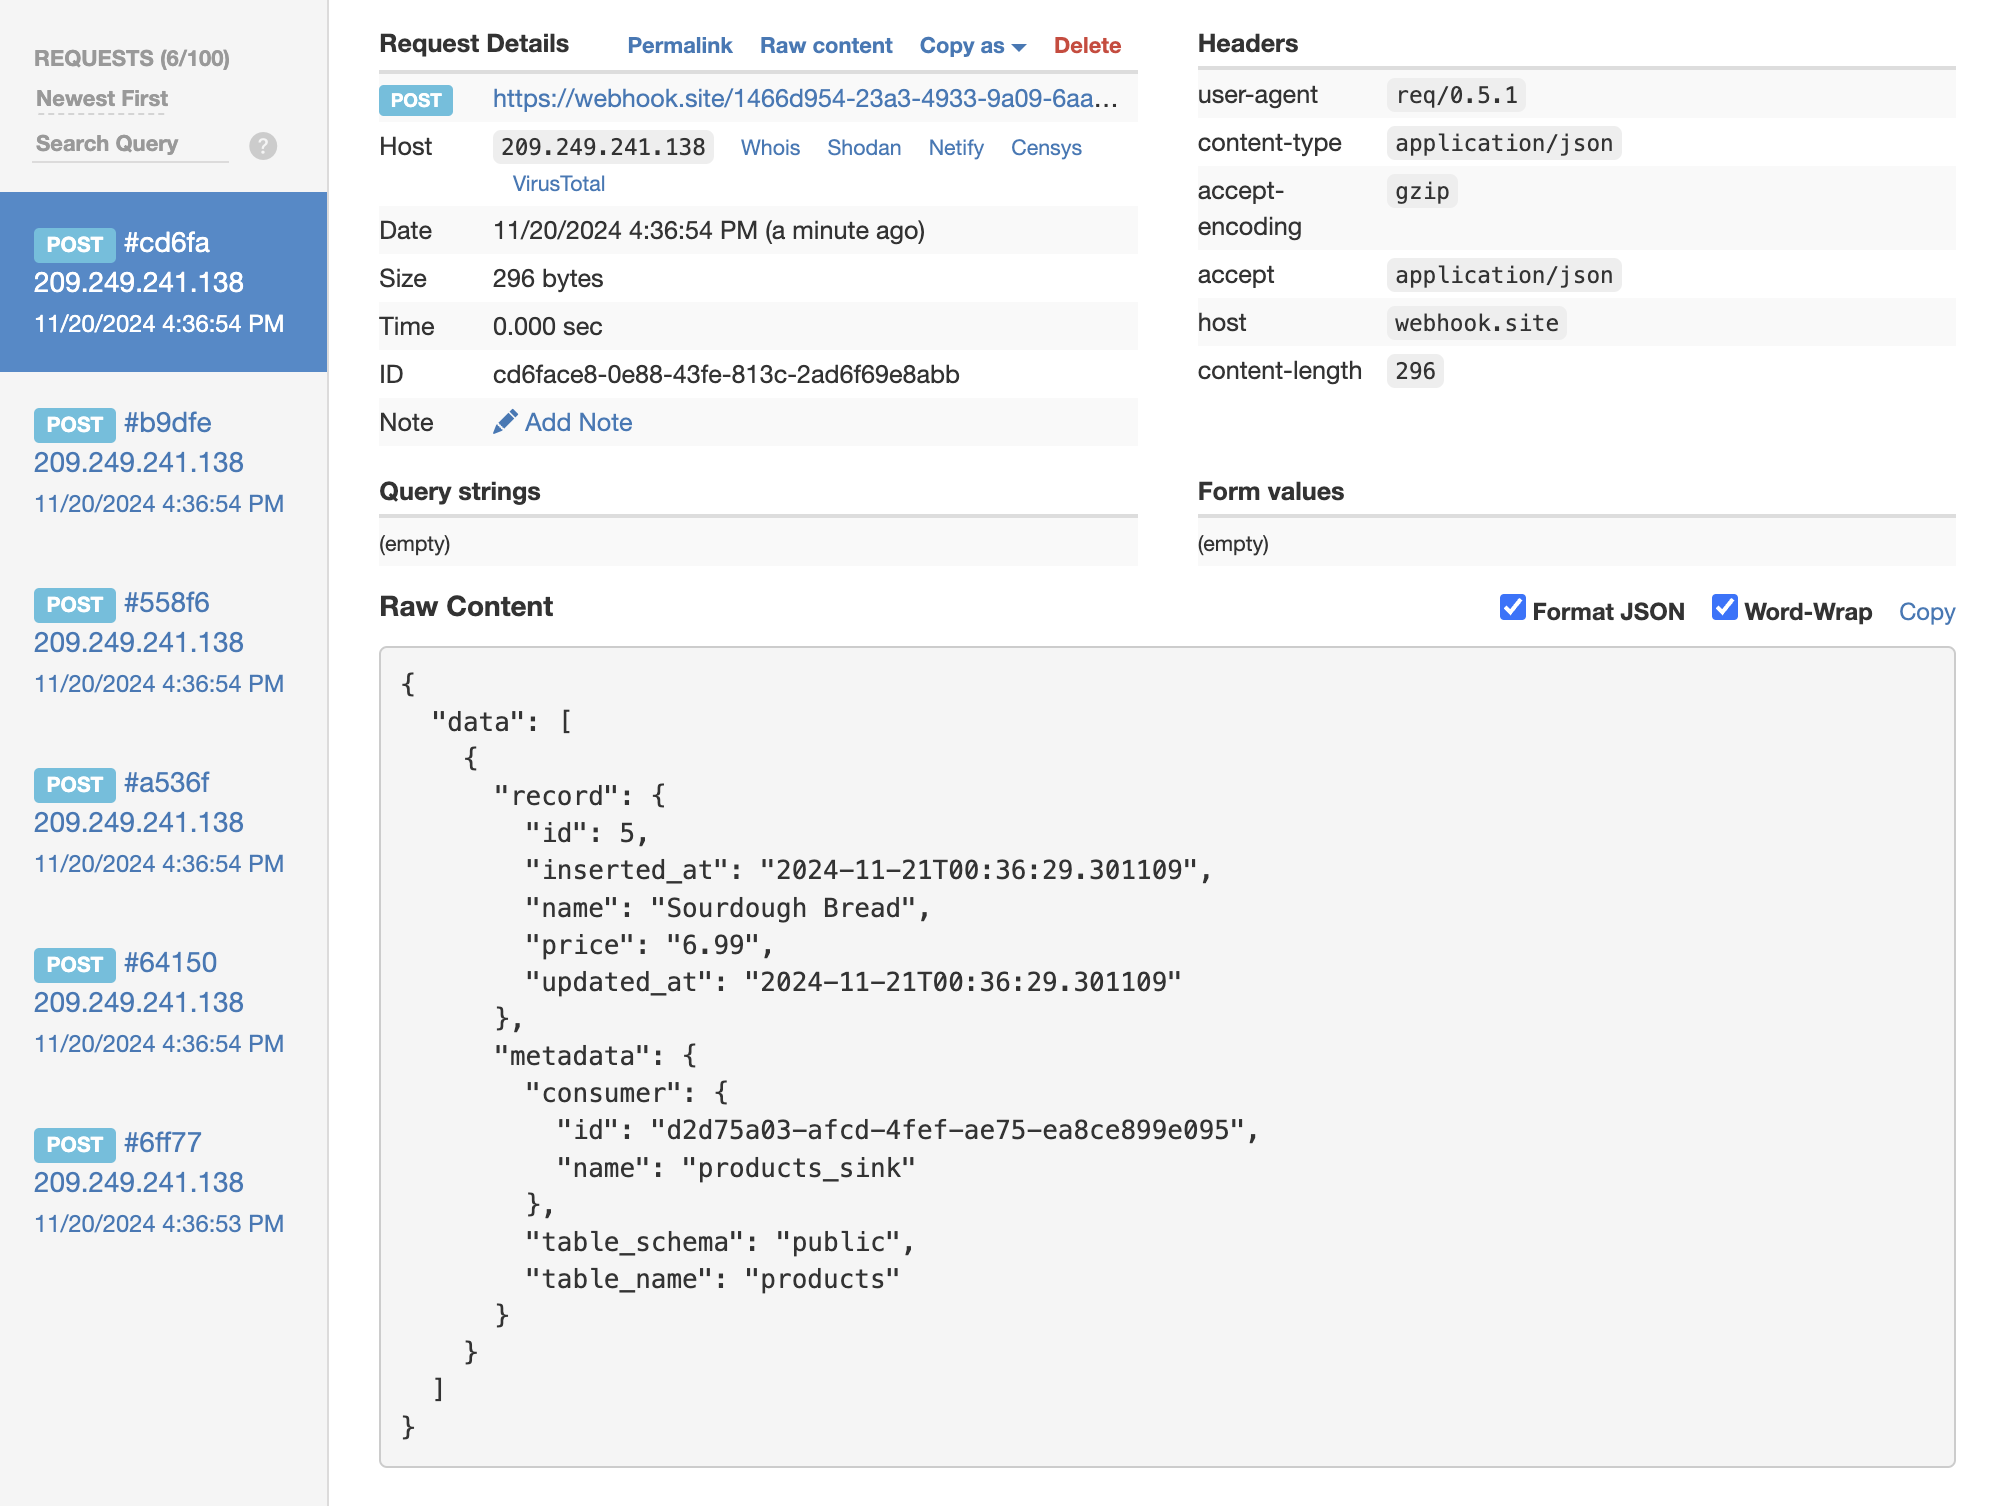

read event for a row in the products table. A read event indicates the event came from a Sequin backfill.Messages are flowing from Sequin to the webhook endpoint.
Make some changes
Let’s make some changes to the Back on Webhook.site, you should see a new message appear in the request log:
Each change will appear in Webhook.site within a few seconds.
products table and see them flow to the webhook endpoint.In your terminal, run the following command to insert a new row into the products table:
Update a product's price
Update a product's price
Change a product's name
Change a product's name
Delete a product
Delete a product
Great work!
- Set up a complete Postgres change data capture pipeline
- Loaded existing data through a backfill
- Made changes to the
productstable - Verified changes are flowing to your webhook endpoint

