

- Boot Sequin
- Connect to a sample playground database
- Configure RabbitMQ to receive database changes
- See your changes flow in real-time
Boot RabbitMQ
If you don’t already have RabbitMQ running, start it with Docker:This starts RabbitMQ with the management plugin enabled, which we’ll use to set up our exchange and queue.
If you’re using another RabbitMQ instance, ensure you have the connection details ready.
Configure RabbitMQ
Before creating our sink, we need to set up RabbitMQ to receive messages. We’ll: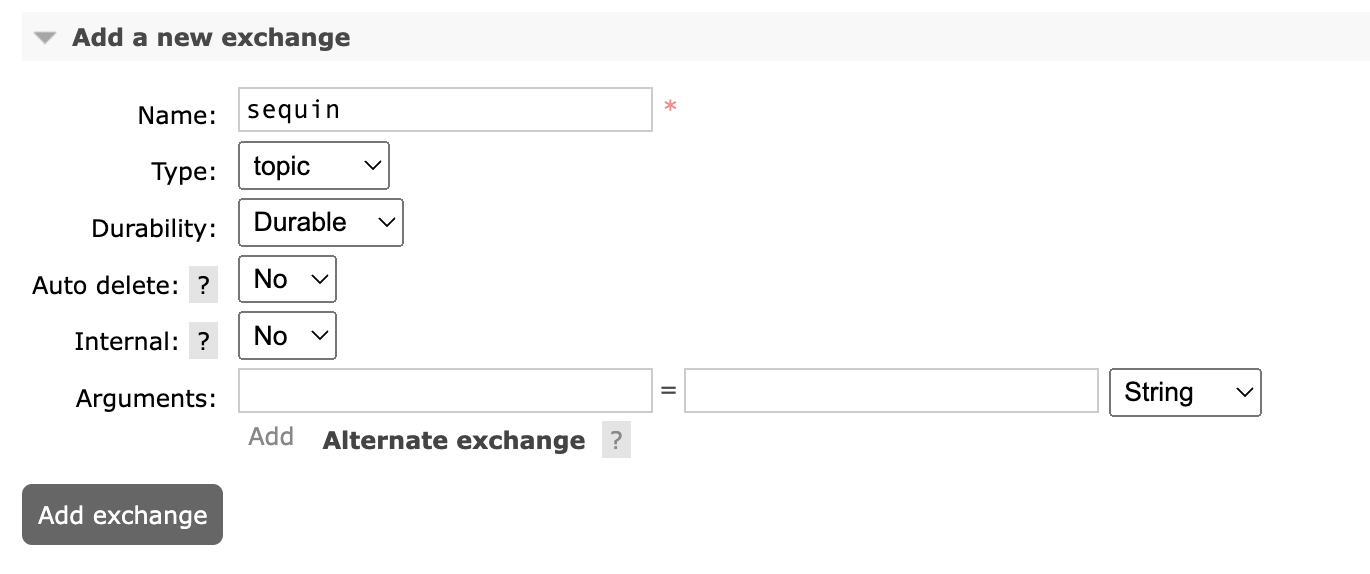
- Create an exchange
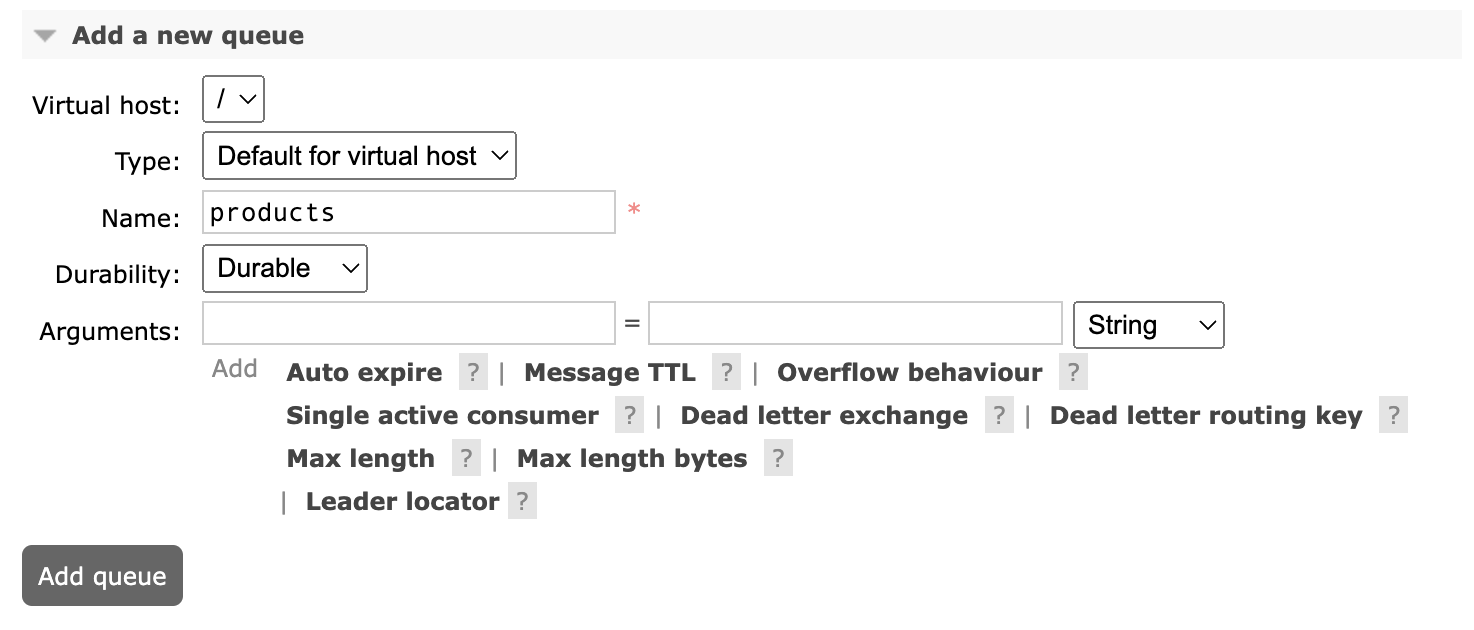
- Create a queue
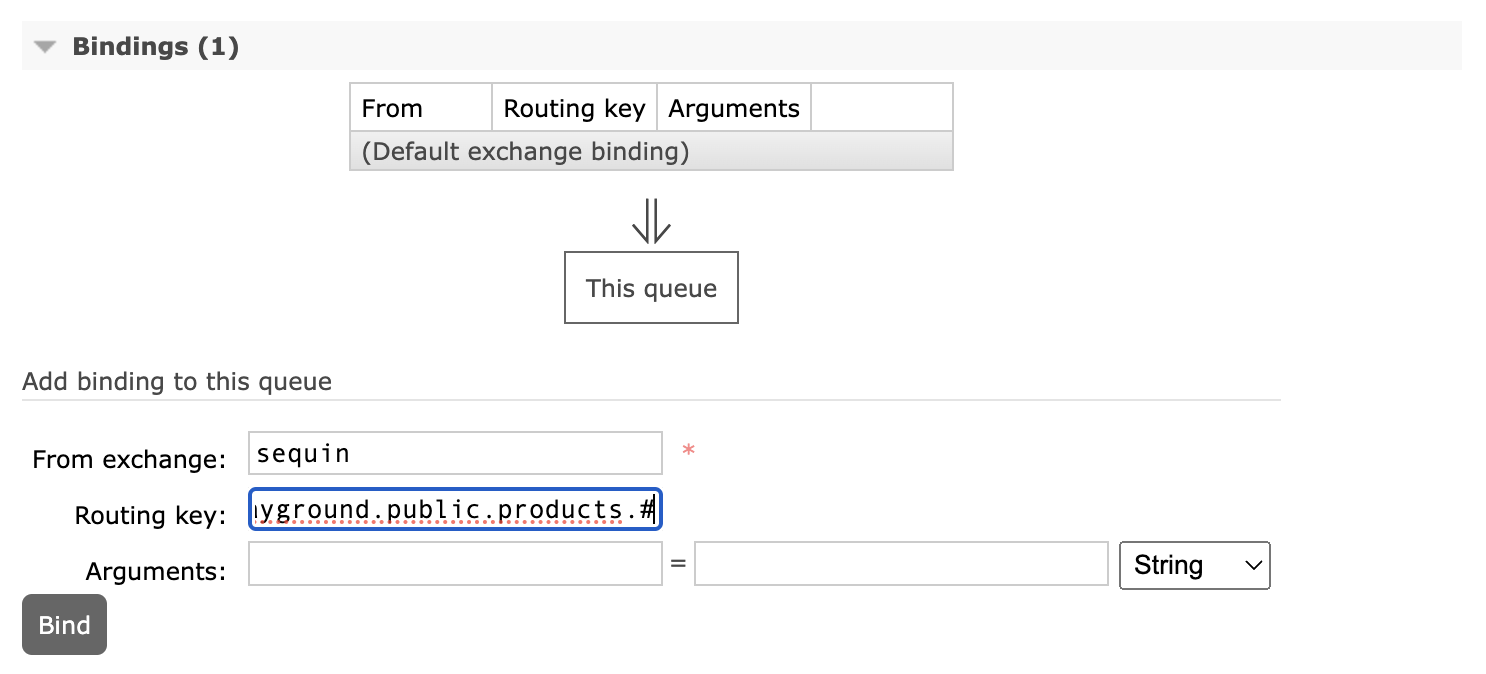
- Bind the queue to the exchange
1
Open RabbitMQ Management UI
Open http://localhost:15672 in your browser. Login with:
- Username: guest
- Password: guest
2
Create an exchange
- Click “Exchanges” in the top navigation
- Find the “Add a new exchange” accordion and expand it if needed
- Enter:
- Name: sequin
- Type: topic
- Leave other settings as default
- Click “Add exchange”
3
Create a queue
- Click “Queues and streams” in the top navigation
- Find the “Add a new queue” accordion and expand it if needed
- Enter:
- Name: products
- Leave other settings as default
- Click “Add queue”
4
Create a binding
- On the “Queues and streams” page, click on your new “products” queue
- Find the “Bindings” section and expand it if needed
- In “Add binding to this queue”, enter:
- From exchange: sequin
- Routing key:
sequin.sequin_playground.public.products.*
- Click “Bind”
sequin.<database_name>.<table_schema>.<table_name>.<action>You’ve successfully created an exchange, queue, and binding in RabbitMQ.
Run Sequin
The easiest way to get started with Sequin is with our Docker Compose file. This file starts a Postgres database, Redis instance, and Sequin server.
1
Create directory and start services
- Download sequin-docker-compose.zip.
- Unzip the file.
- Navigate to the unzipped directory and start the services:
Alternative: Download with curl
Alternative: Download with curl
Alternative: Clone the repository
Alternative: Clone the repository
2
Verify services are running
Check that Sequin is running using You should see output like the following:
docker ps:Sequin, Postgres, Redis, Prometheus, and Grafana should be up and running (status:
Up).Login
The Docker Compose file automatically configures Sequin with an admin user and a playground database.Let’s log in to the Sequin web console:
1
Open the web console
After starting the Docker Compose services, open the Sequin web console at http://localhost:7376: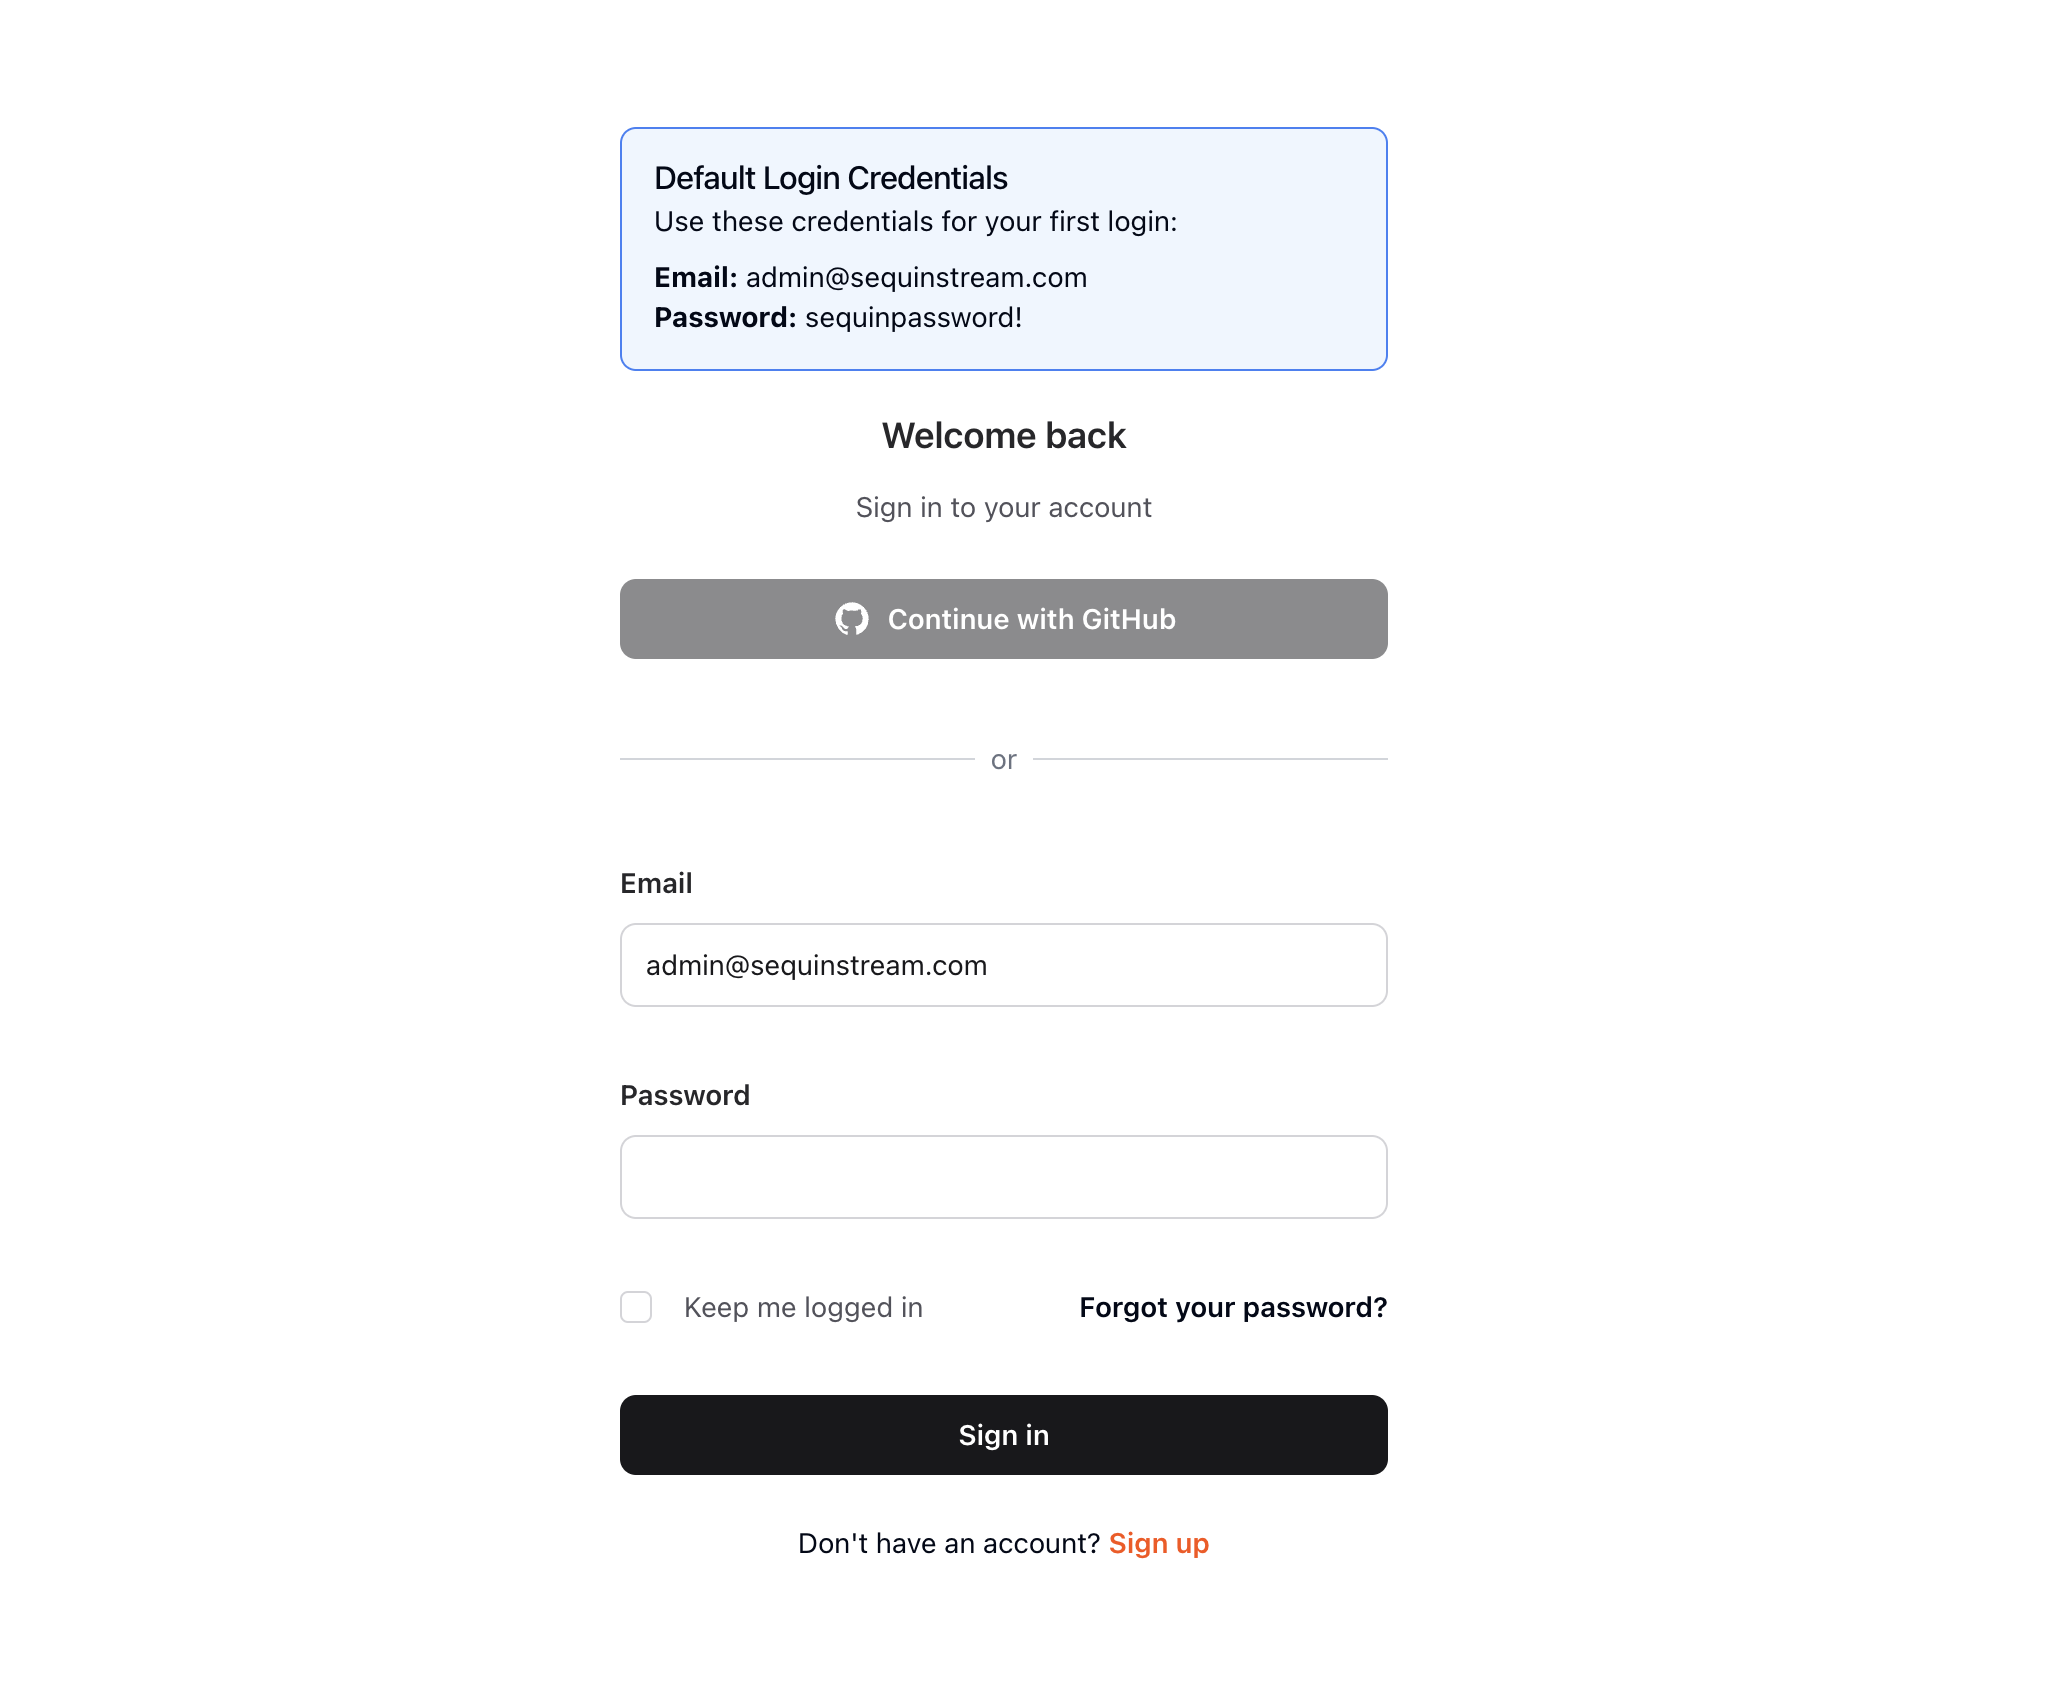
2
Login with default credentials
Use the following default credentials to login:
- Email:
- Password:
View the playground database
To get you started quickly, Sequin’s Docker Compose file creates a logical database called
sequin_playground with a sample dataset in the public.products table.Let’s take a look:1
Navigate to Databases
In the Sequin web console, click Databases in the sidebar.
2
Select playground database
Click on the pre-configured 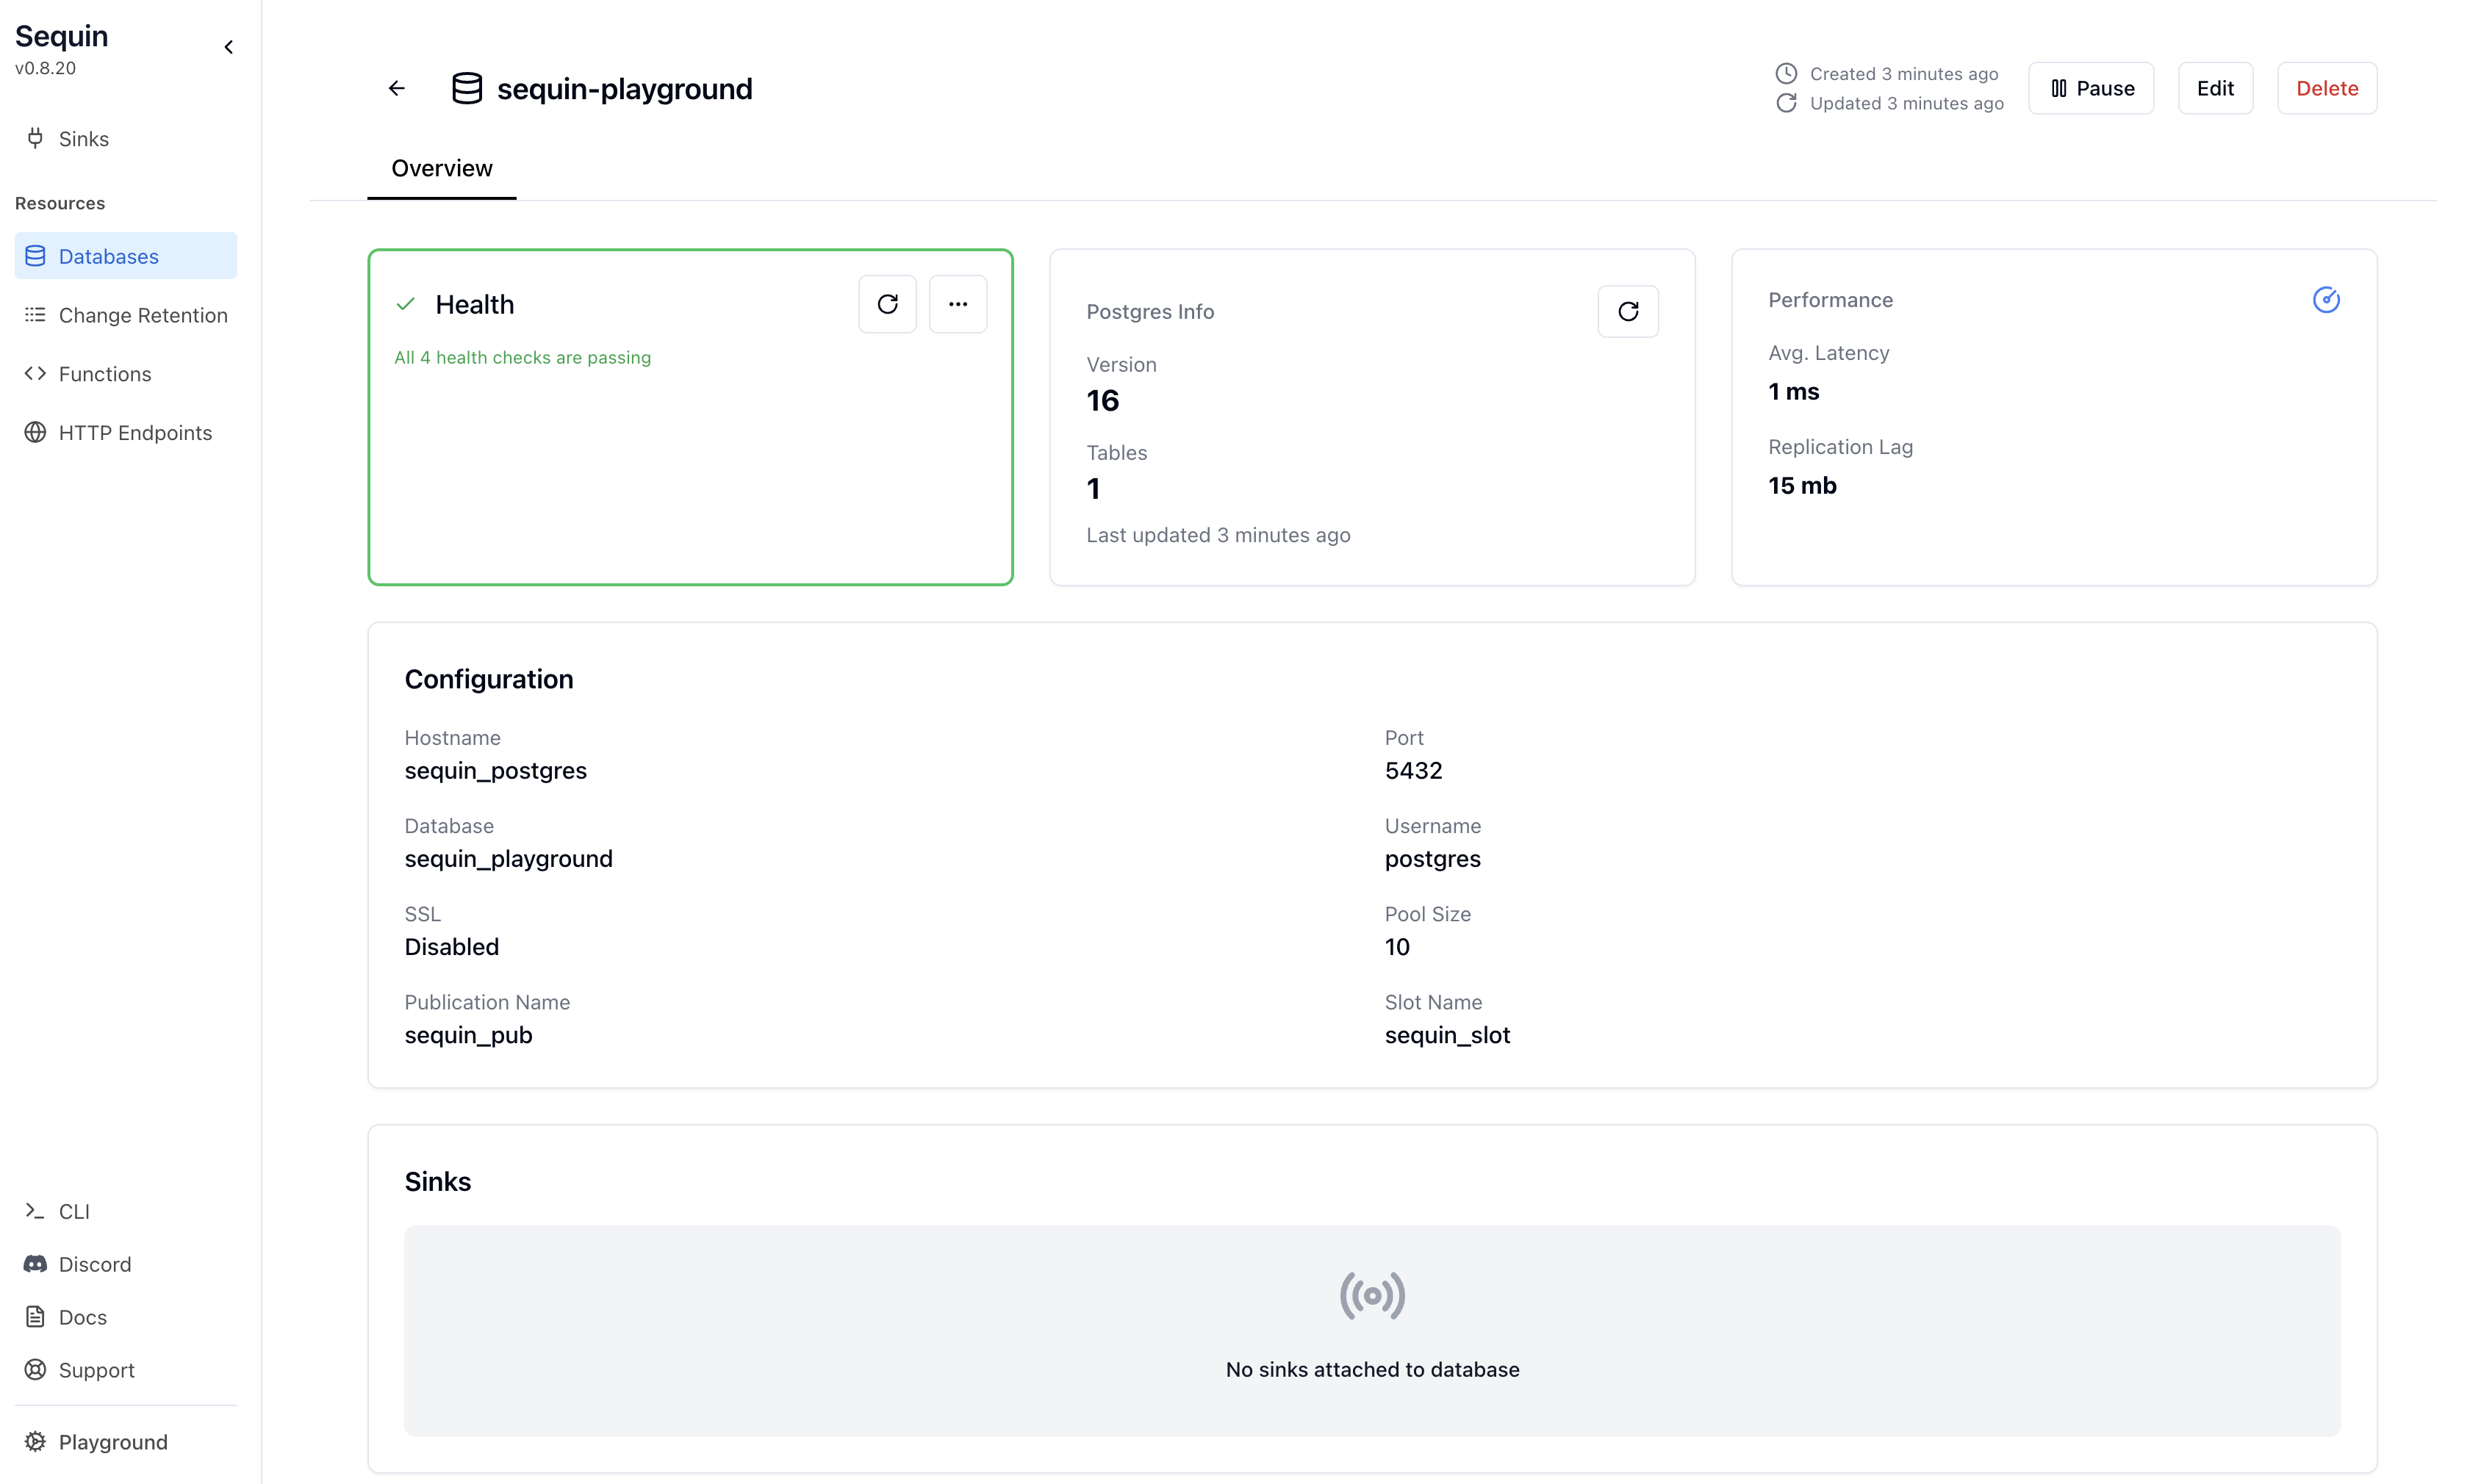
sequin-playground database:The database “Health” should be green.
3
View contents of the products table
Let’s get a sense of what’s in the You should see a list of the rows in the We’ll make modifications to this table in a bit.
products table. Run the following command:This command connects to the running Postgres container and runs a
psql command.products table:Create a RabbitMQ Sink
With the playground database connected and RabbitMQ configured, you can create a sink. This sink will send changes to the
products table to your RabbitMQ exchange:1
Navigate to Sinks
Click “Sinks” in the sidebar navigation, then click “Create Sink”.
2
Select sink type
Select “RabbitMQ” as the sink type and click “Continue”.
3
Note "Source" configuration
In the “Source” card, note that the 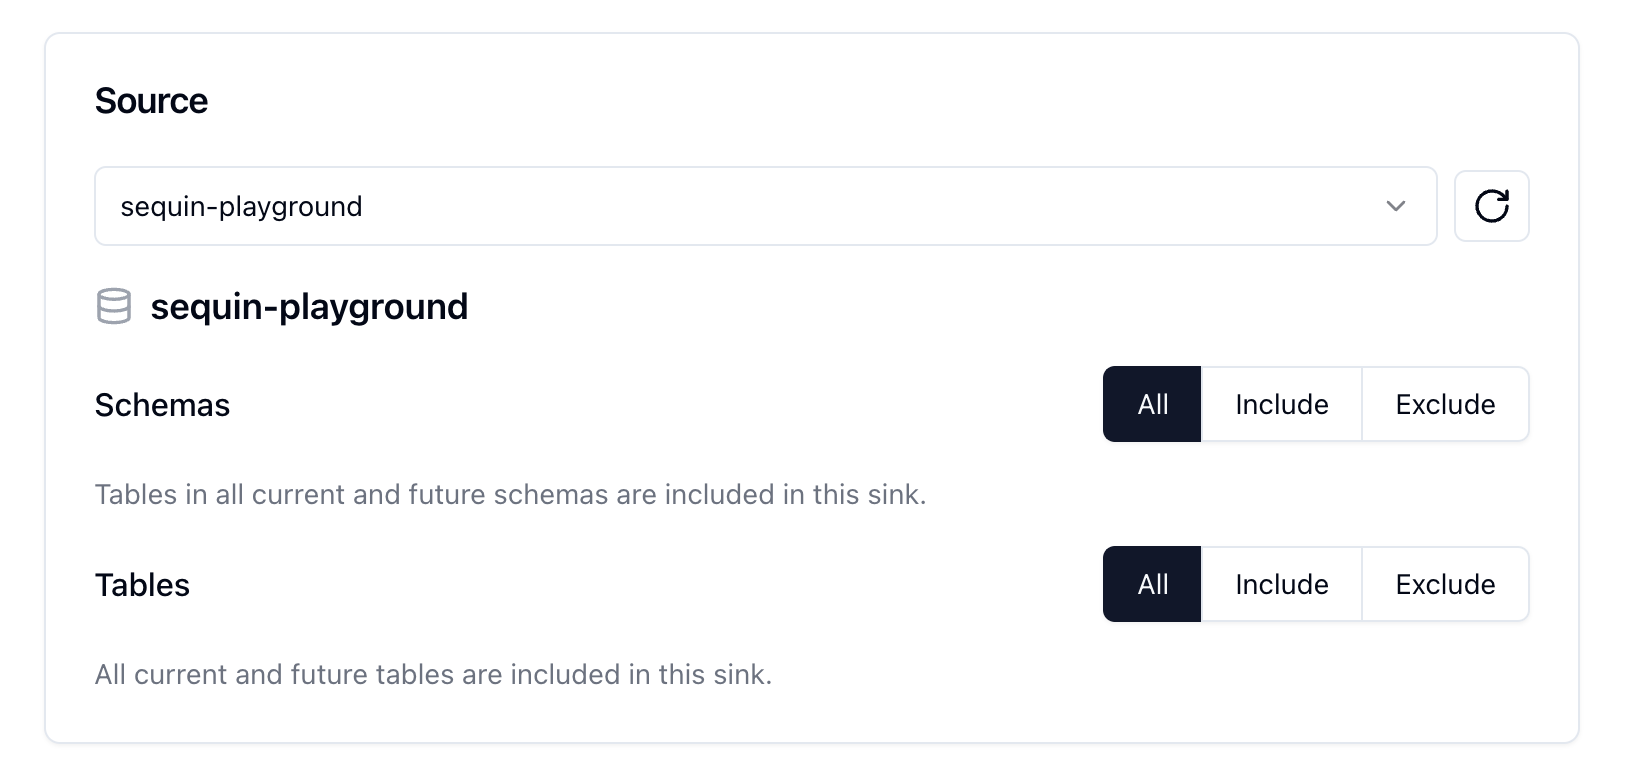
sequin-playground database is selected and all schemas and tables are included. Leave these defaults:4
Setup a backfill
In the 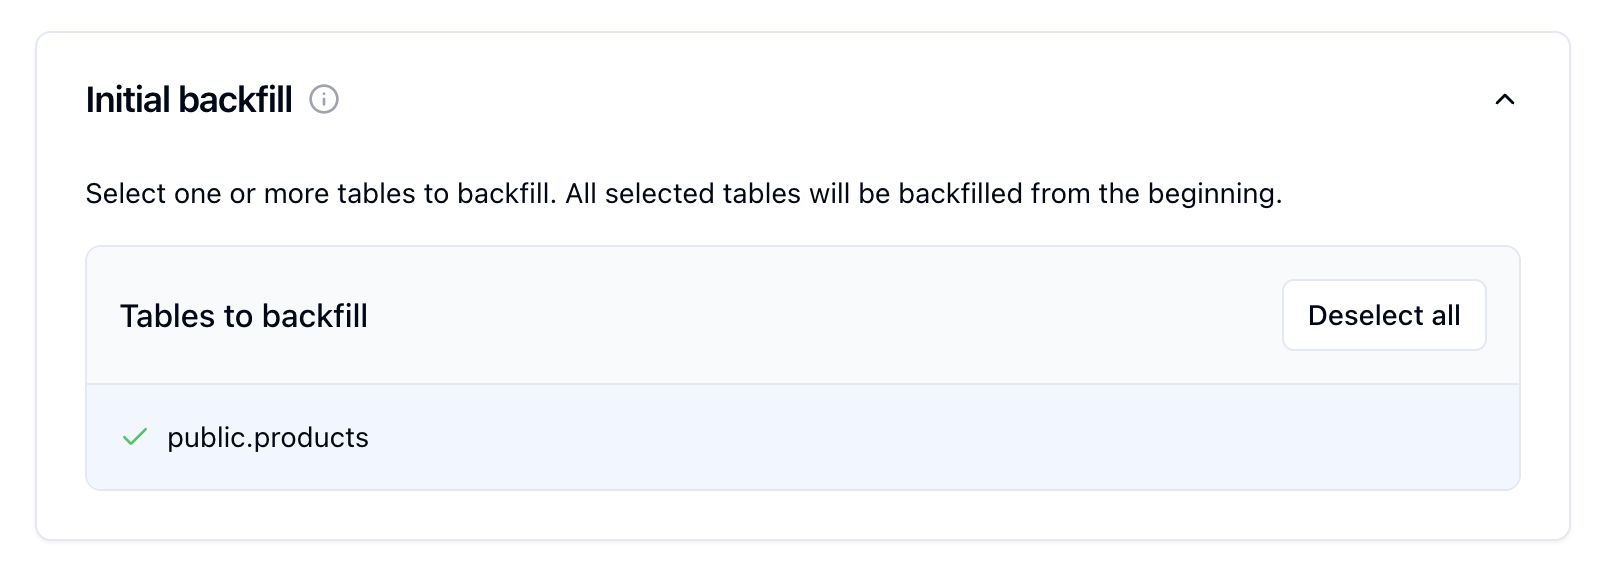
Inital backfill card, select the public.products table to initate a backfill when the sink is created.5
Configure "RabbitMQ Configuration"
In the “RabbitMQ Configuration” card, enter your connection details: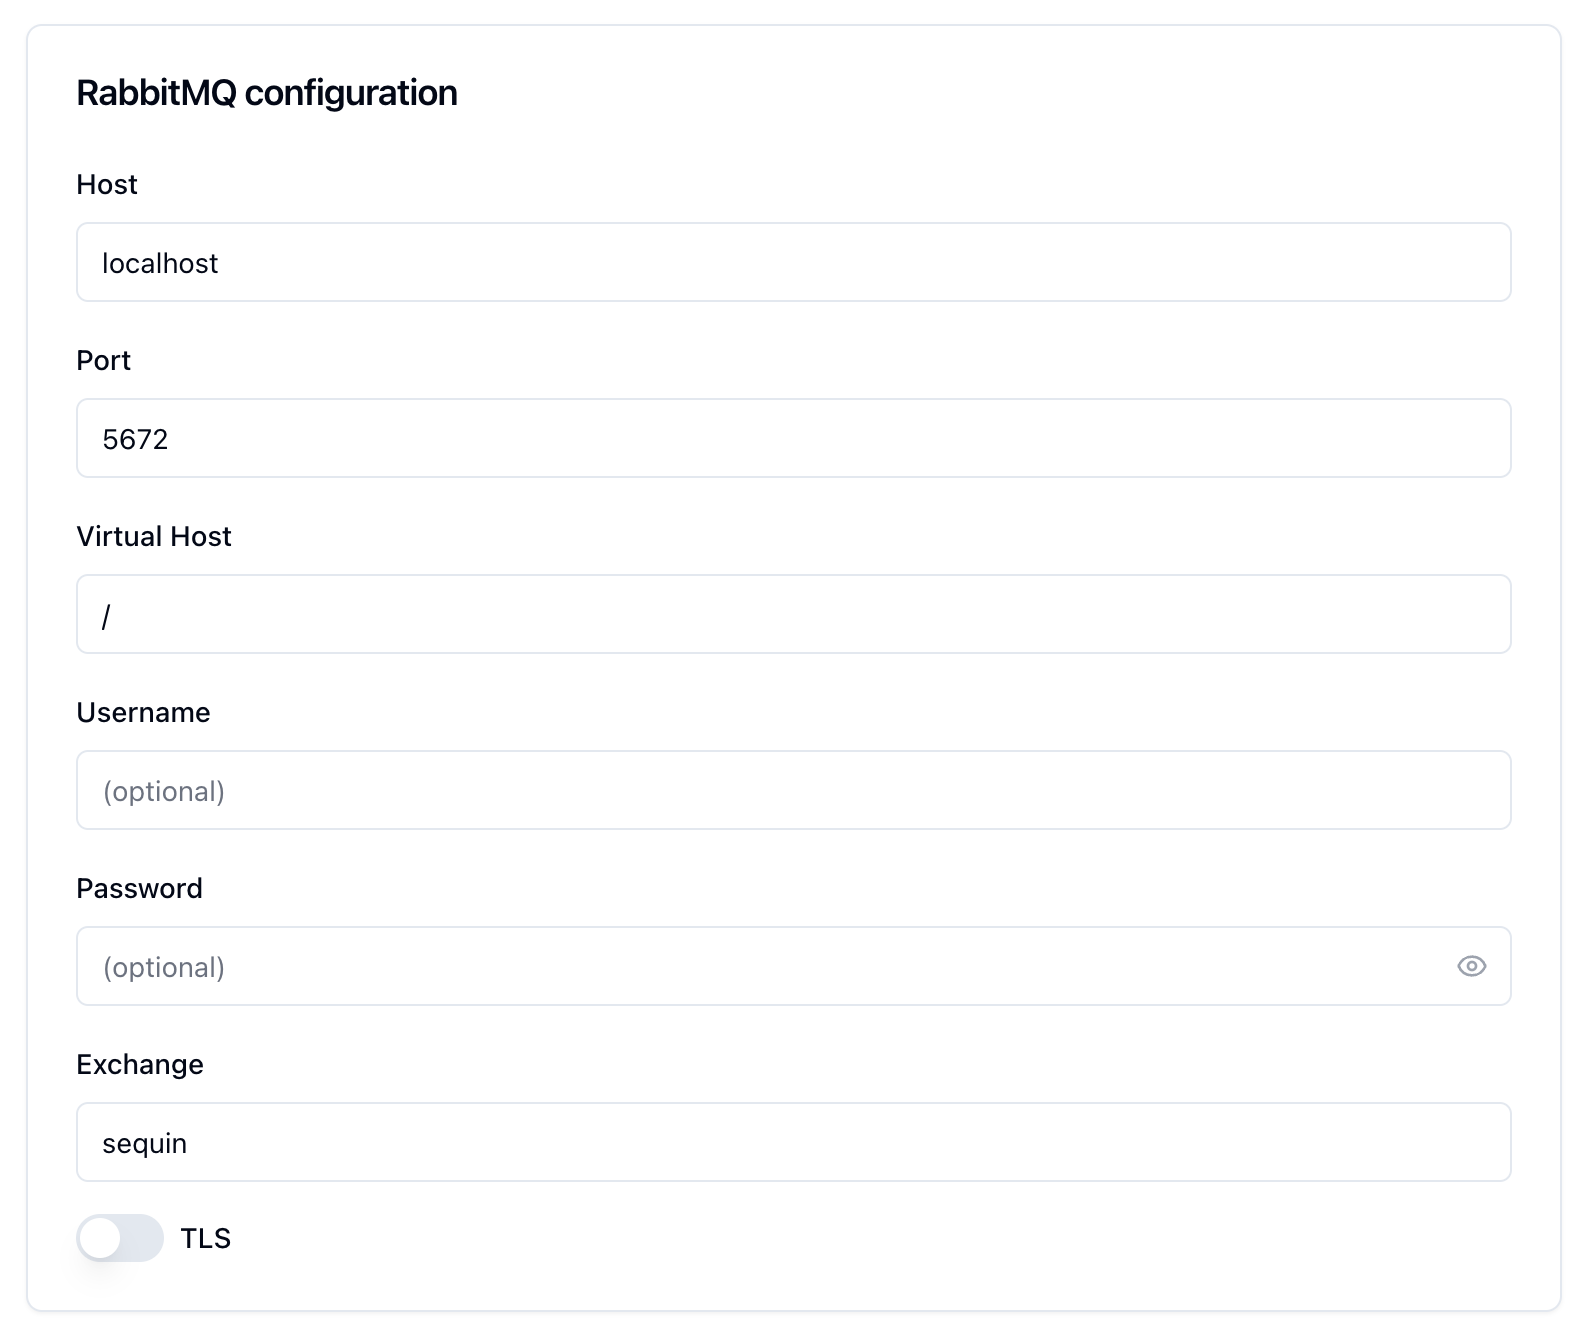
- Host: If running locally with Docker, use
host.docker.internal - Port: The port RabbitMQ is listening on (default: 5672)
- Exchange: The exchange name we created earlier (
sequin) - Username and Password: Leave blank
- SSL: Leave disabled
6
Test the connection
At the bottom of the form, click the “Test Connection” button. If you provided proper credentials, it should succeed.
Sequin can connect to your RabbitMQ server.
7
Create the sink
You can leave the rest of the defaults. As configured, messages will first flow for all existing rows in the
products table. Then, you’ll receive all changes to the products table in real-time.Click “Create Sink” to finish setting up your RabbitMQ sink.See changes flow through RabbitMQ
On the new sink’s overview page, you should see the “Health” status turn green, indicating data is flowing to RabbitMQ.Let’s confirm messages are flowing:
1
Messages tab
Click the “Messages” tab. You’ll see a list of the recently delivered messages: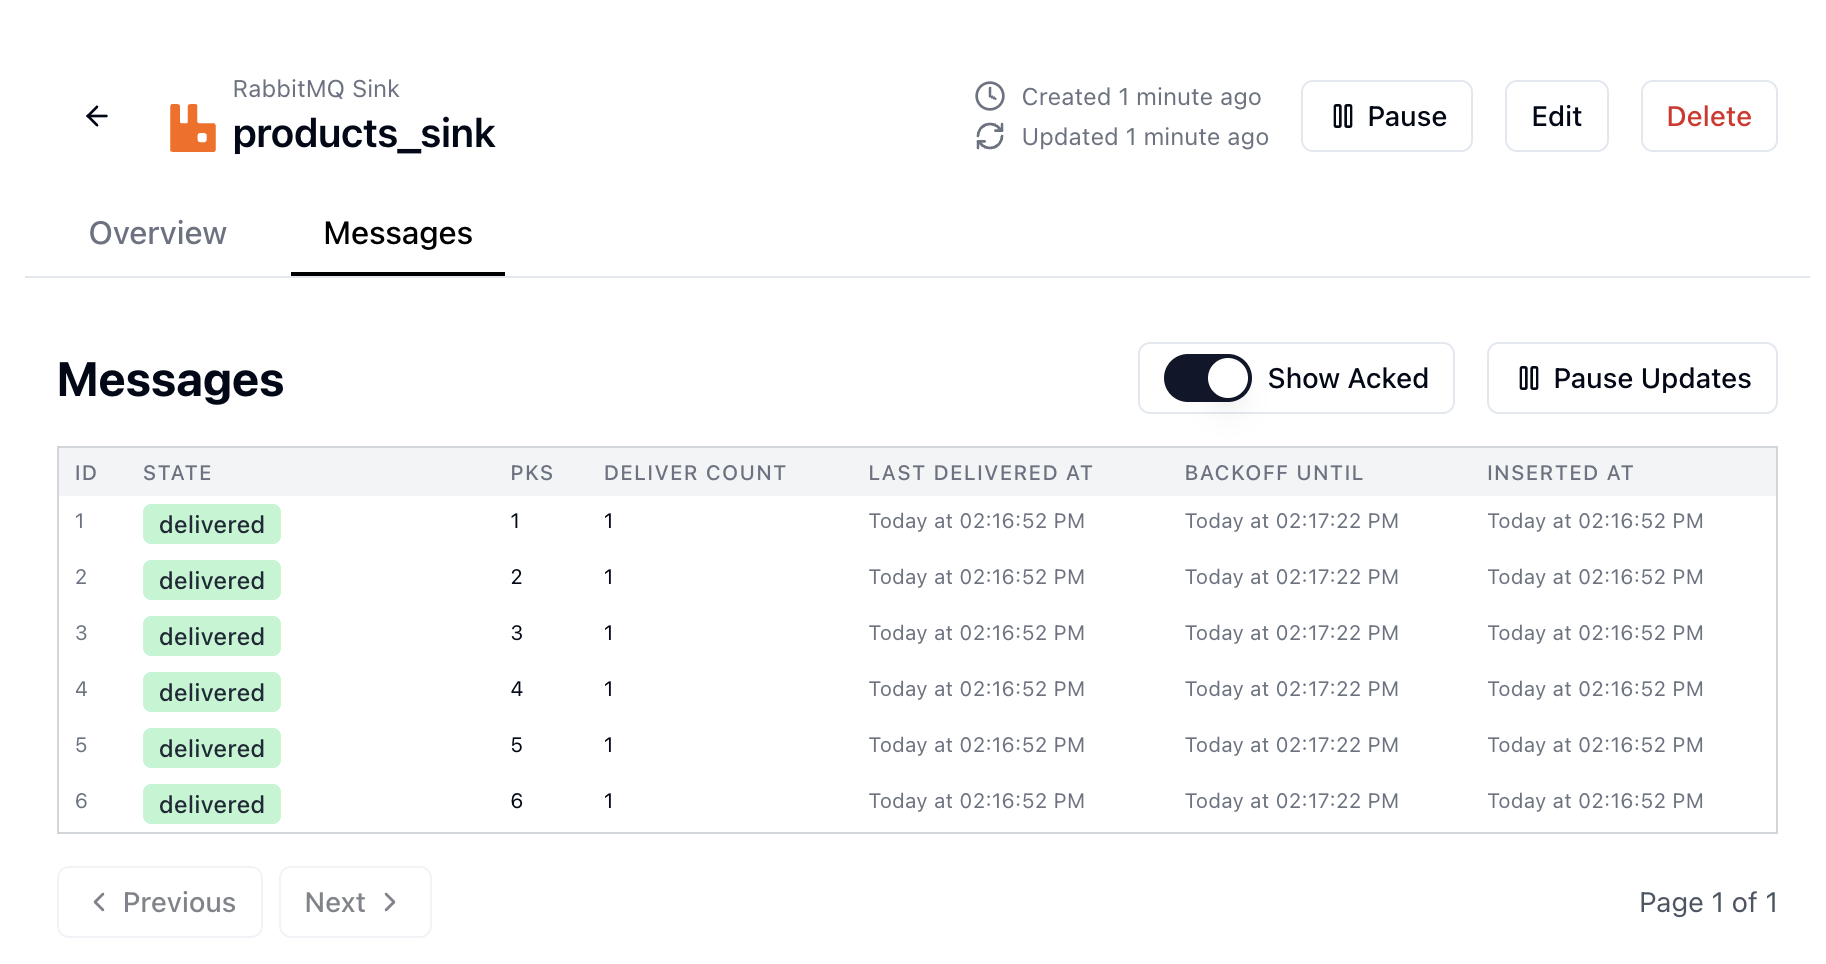
Sequin indicates it backfilled the
products table to RabbitMQ.2
View in RabbitMQ
You can view messages in your queue using the RabbitMQ management UI or CLI:You should see the messages that were sent from Sequin. These are 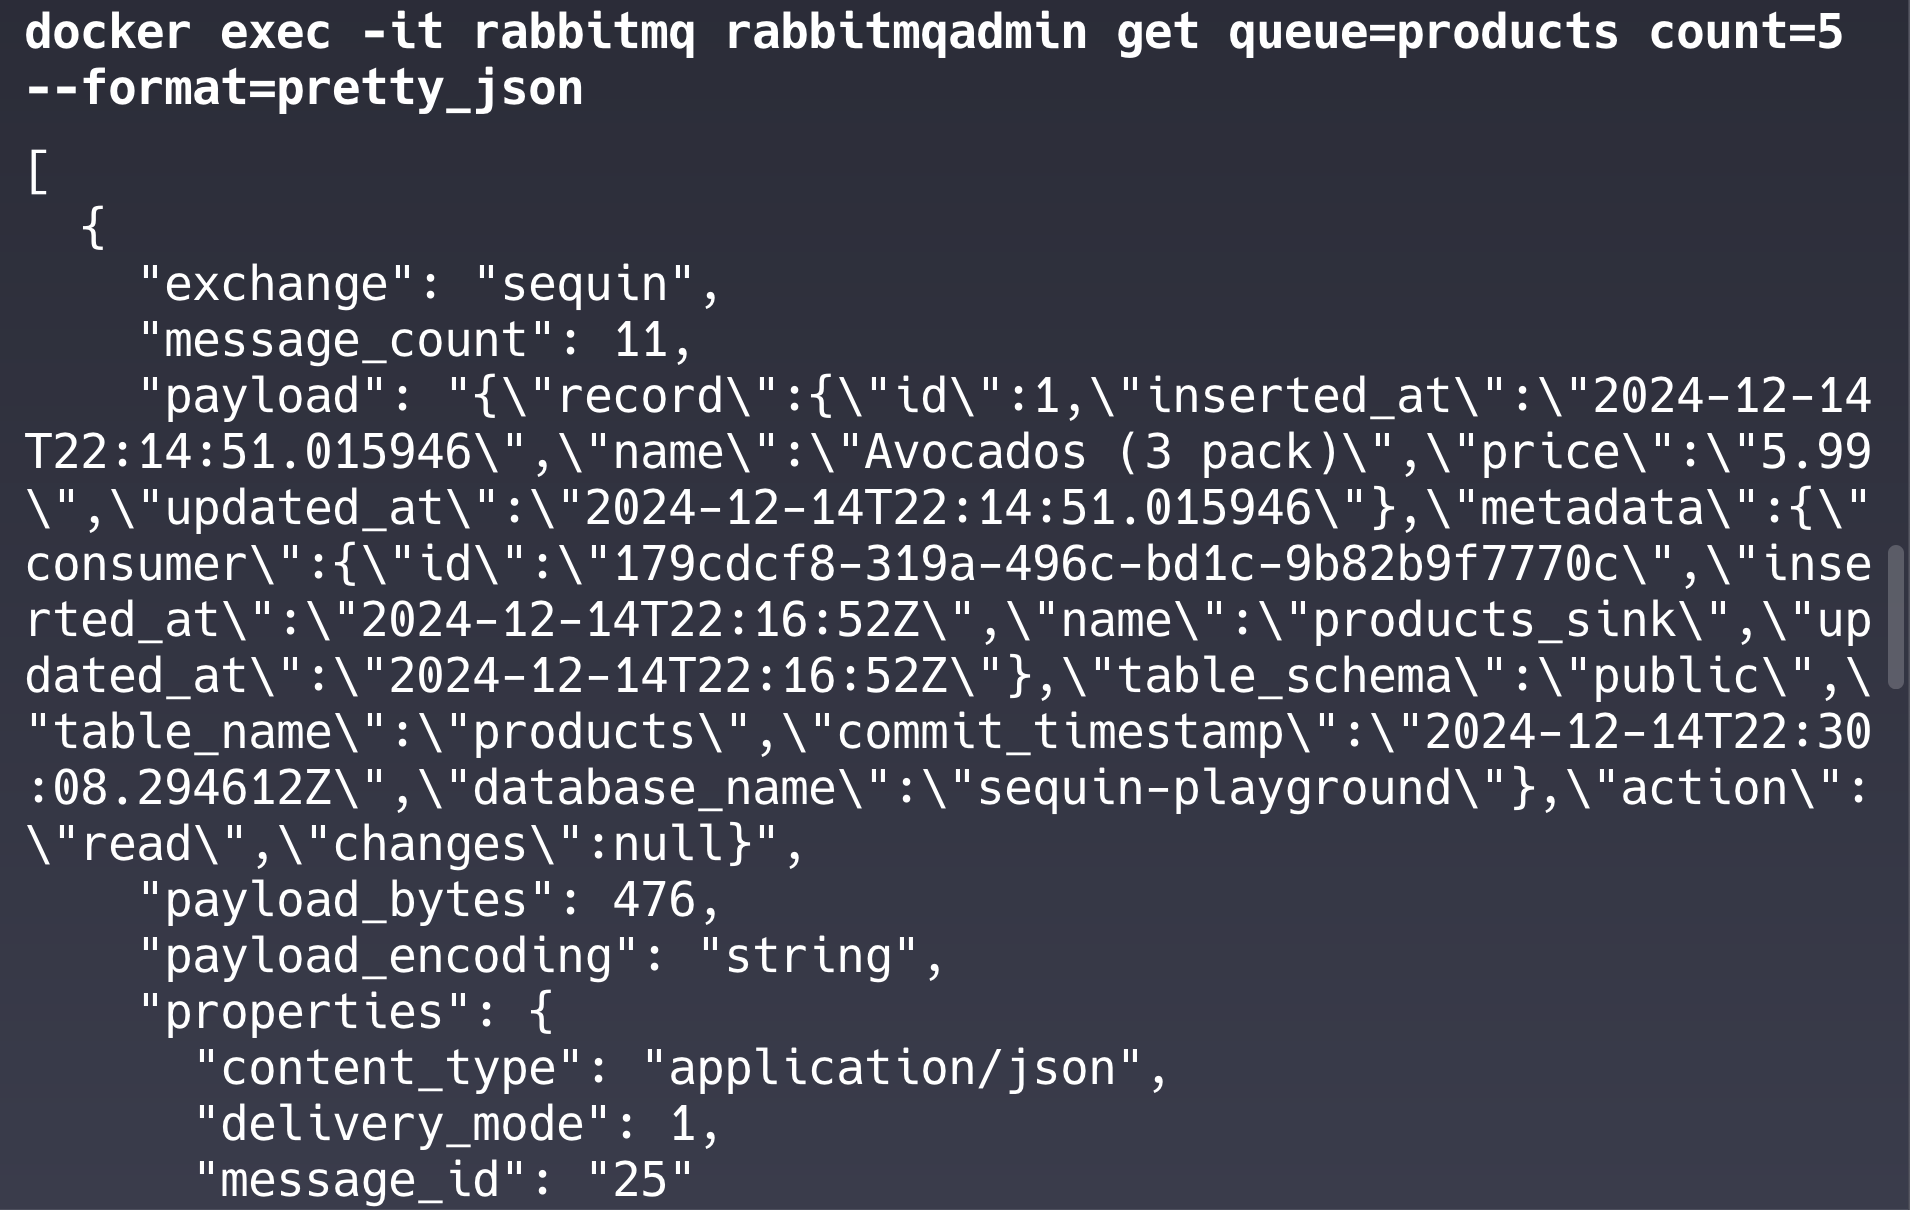
read events from the initial backfill of the products table:Messages are flowing from Sequin to RabbitMQ.
3
Make some changes
Let’s make some changes to the Check your queue for the new message:You should see a message corresponding to the inserted row.Feel free to try other changes:
Each change will appear in your RabbitMQ queue within a few seconds.
products table and see them flow through RabbitMQ.In your terminal, run the following command to insert a new row into the products table:Update a product's price
Update a product's price
Change a product's name
Change a product's name
Delete a product
Delete a product
If you want to purge your RabbitMQ queue, you can do so by running:
Great work!
- Set up a complete Postgres change data capture pipeline
- Configured RabbitMQ with an exchange, queue, and binding
- Loaded existing data through a backfill
- Made changes to the
productstable - Verified changes are flowing through RabbitMQ
Ready to stream
Now you’re ready to connect your own database to Sequin and start streaming changes:Guide: Connect Postgres
Connect your Postgres database to Sequin.
Guide: Setting up a RabbitMQ sink
Setup a RabbitMQ sink to stream your changes.